 Lynden Siding
 New-Construction Windows for Birch Bay Homes
Birch Bay sits right on the water, which means every window opening on a new build there has to deal with something most inland Whatcom County homes don't face as often: salt-laden air, wind-driven rain coming straight off the bay, and a moss and algae season that runs longer than it does even a few miles inland. If you're framing a new home or an addition in Birch Bay, the windows going into those rough openings need to be installed correctly the first time — because fixing a bad flashing job after the siding is on is a much bigger, more expensive project than doing it right during construction.
This page is specifically about new-construction window installation — windows going into a house that's still being built, not windows being swapped into an existing wall. That distinction matters more than most homeowners realize, and it changes how the job should be done.
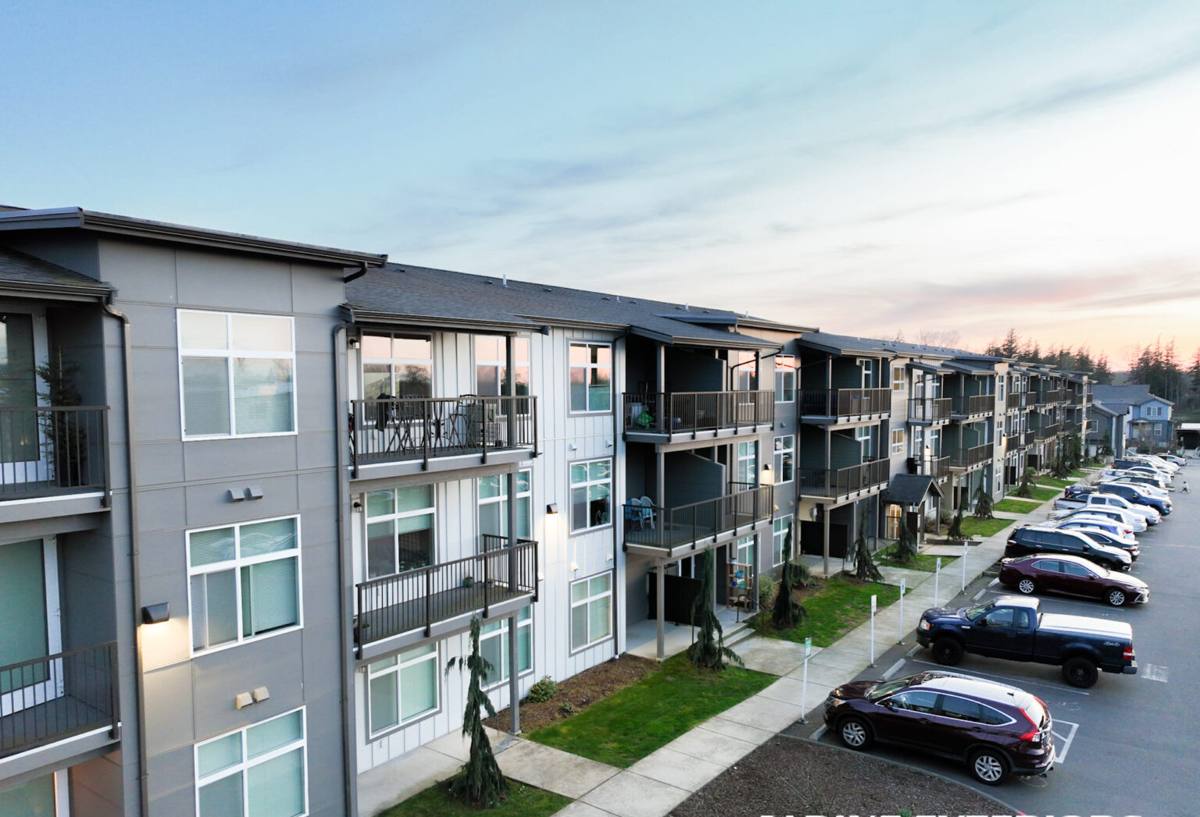
New Construction vs. Replacement: Why the Difference Matters
New-construction windows have a nailing flange (a flat flange around the perimeter of the frame) that gets fastened directly to the wall sheathing before the weather-resistant barrier (WRB, or house wrap) and siding go on. That flange, combined with the flashing tape and building paper layered around it, is what actually keeps water out of the wall over the long run — the window unit itself is only part of the story.
Replacement windows, by contrast, get inserted into an existing frame after the original window is removed, without disturbing the exterior siding or WRB. They're a different product with a different installation method entirely. If your Birch Bay project is new construction or an addition, you want a crew that's used to sequencing window installation with the sheathing, wrap, and siding schedule — not one that mostly does retrofit work.
Why This Distinction Matters More on the Coast
On an inland lot, a mediocre flashing detail might go unnoticed for years. On a Birch Bay lot exposed to onshore wind and driving rain, a gap in the weather barrier around a window opening can start showing water intrusion much sooner — sometimes within a season or two. The marine exposure doesn't create new problems, it just speeds up the timeline on existing ones.
What Birch Bay's Climate Demands from a Window Install
Whatcom County's marine west coast climate is wet nearly year-round, but Birch Bay's direct waterfront exposure adds a few extra factors that change how we approach the install:
- Salt air: Airborne salt accelerates corrosion on exposed fasteners, hardware, and lower-grade metal flashing. We favor corrosion-resistant fasteners and flashing materials rated for coastal exposure.
- Driving rain: Wind off the bay pushes rain sideways and upward under sills, not just straight down. That means sill pan flashing and proper shingle-lap sequencing (each layer overlapping the one below it) aren't optional details — they're the difference between a dry wall assembly and a slow leak.
- Long moss and algae season: Constant moisture keeps north- and shade-facing surfaces damp longer here than in drier parts of the county. That affects sill design, drainage paths, and how much standing water a window's exterior trim is exposed to.
- Wind loading: Open, waterfront lots can see higher sustained wind than sheltered inland sites, which is a factor in window selection and fastening schedule, especially on larger picture or slider units.
None of this means Birch Bay needs exotic products. It means ordinary good practice — correct flashing sequence, quality sealant, adequate fastening — has to be followed without shortcuts, because the coastal environment doesn't forgive gaps the way a drier, more sheltered site might.
What a Correct Installation Actually Involves
A new-construction window installation isn't just "set the window in the hole and caulk around it." Done correctly, it's a layered system where each material overlaps the one below it so water always has a path down and out, never in.
The Flashing Sequence
- Rough opening is checked for square, level, and correct sizing before the window ever arrives on site.
- A sloped sill pan is installed at the bottom of the opening so any water that gets past the window has a way to drain back out, not pool against the framing.
- Self-adhered flashing tape is applied at the jambs and head, integrated with the WRB in the correct shingle-lap order — each piece overlapping the one beneath it, working from the bottom up.
- The window is set, shimmed level and plumb, and fastened through the nailing flange per the manufacturer's schedule — not just a few nails in the corners.
- Head flashing is installed above the window, and the WRB is lapped over it to shed water around the top of the opening.
- Interior gaps between the frame and rough opening are insulated (typically low-expansion foam or backer rod, not packed fiberglass) to avoid both air leakage and frame distortion.
- Exterior sealant is applied only where the manufacturer's instructions call for it — sealing every gap on a flanged window can actually trap water instead of letting it drain.
Skip or rush any one of these steps and the window itself doesn't matter much — water will find the gap in the system, not the window.
Choosing Materials for a Coastal Whatcom County Build
Frame material matters more on a waterfront lot than it does a few miles inland. Here's how the common options generally compare for salt-air, high-moisture exposure:
| Frame Material | Coastal Durability | Maintenance | Typical Cost Position |
|---|---|---|---|
| Vinyl | Good — won't corrode or rot; UV and heat cycling are the main long-term wear factors | Low — occasional cleaning | Most affordable |
| Fiberglass | Very good — dimensionally stable, resists moisture and salt exposure well | Low | Mid to upper range |
| Wood (unclad) | Weakest in this environment — requires diligent finish maintenance to resist rot in constant moisture and salt exposure | High — regular refinishing | Varies widely |
| Wood-clad (aluminum or vinyl exterior) | Good on the exterior face; interior wood still needs normal indoor care | Low exterior, moderate interior | Upper range |
We don't push one material on every job — the right call depends on your budget, the home's design, and how exposed the specific elevation is to wind and rain. What we won't do is install an unclad wood window on a fully exposed, west- or south-facing waterfront wall in Birch Bay without a clear conversation about the maintenance commitment that comes with it. That's a standard we hold to protect the investment you're making, not a knock on wood windows in general — they're a fine choice in the right location with the right upkeep.
Glass and Weatherproofing Details Worth Knowing
Beyond frame material, a few glazing choices matter for a marine environment:
- Double vs. triple pane: Double-pane, low-E glass is standard and performs well in this climate; triple-pane adds cost and weight but can be worth it on north-facing or particularly exposed walls where wind chill and condensation control matter more.
- Low-E coatings: Help manage solar heat gain and interior condensation — useful given how much of the year Birch Bay stays overcast and humid.
- Weep holes and drainage: Sills should have functioning weep paths so any water that gets into the frame track has somewhere to go. These get inspected during installation, not assumed to work out of the box.
- Hardware finish: Look for corrosion-resistant coatings on locks, hinges, and cranks on coastal builds — standard finishes can show premature pitting in salt air.
Our Process on a Birch Bay New-Construction Job
We coordinate directly with the builder or general contractor's framing and siding schedule so windows go in at the right point — after sheathing and rough opening prep, before WRB and siding close things up. On most jobs that looks like:
- Site visit or plan review to confirm window sizes, styles, and rough opening details against the build schedule.
- Material selection conversation — frame type, glazing, and finish, matched to each elevation's actual sun and wind exposure.
- Rough opening inspection before any window arrives, catching framing issues while they're still cheap to fix.
- Installation following the full flashing sequence described above, elevation by elevation.
- Final check of level, plumb, operation, and seal integrity before the crew moves on to siding.
What This Typically Costs
New-construction window installation is usually priced per opening and depends heavily on size, quantity, frame material, and site access. Broad ranges for a Whatcom County coastal build:
| Factor | Impact on Cost |
|---|---|
| Number and size of openings | Largest single driver — a whole-house window package scales with total window area |
| Frame material | Vinyl is typically the most economical; fiberglass and clad-wood run higher |
| Glazing upgrades (triple-pane, specialty coatings) | Adds cost per unit, most worthwhile on exposed elevations |
| Site access and building height | Multi-story or difficult-access lots near the water can add labor time |
| Coordination complexity | Jobs tightly synced with a framing crew's schedule are more efficient than stop-and-start scheduling |
Exact numbers depend on your plans and material choices — we'll walk through real figures once we know the scope.
A Quick Checklist Before You Order Windows for a Birch Bay Build
- Confirm rough opening sizes are finalized before ordering — changes after the order is placed cost time and money.
- Ask what flashing and sill pan approach the installer plans to use, and make sure it's a full shingle-lap system, not just caulk and hope.
- Match frame material to each wall's actual sun, wind, and rain exposure rather than choosing one material for the whole house by default.
- Check that hardware and fasteners are rated for coastal or marine exposure.
- Confirm the installer will coordinate timing with your framer and siding crew so windows go in at the correct stage.
- Get manufacturer warranty terms in writing, and understand what installation practices are required to keep that warranty valid.
Why Hire a Crew That Already Works in Birch Bay
Installation crews who mostly work drier, more sheltered inland sites can do a technically correct install and still under-build for what Birch Bay's exposure actually throws at a wall over time. Crews who work this stretch of Whatcom County regularly know which elevations catch the worst of the wind-driven rain, how much moss buildup to plan drainage around, and where salt air tends to bite first on hardware and fasteners. That local pattern recognition doesn't replace following manufacturer instructions and good flashing practice — it's what tells you where to be extra careful on a given lot.
If you're planning a new build or addition in Birch Bay and want windows installed right the first time, we're happy to take a look at your plans and walk the site. Reach out for a free, no-pressure estimate using the form below.