 Lynden Siding
 Board & Batten Siding Built for the Aldergrove, BC and Lynden Climate
Board and batten is one of the most requested siding profiles we install — the clean vertical lines read as modern farmhouse, but the profile itself is old and practical, originally used because it shed water well on barns and homesteads. That practicality still matters here. Homes near Aldergrove, BC and throughout the Lynden area sit in a corner of Whatcom County where the weather doesn't do anything dramatic, it just doesn't stop. Long stretches of driving rain, damp air carrying a trace of salt off the Salish Sea, and a moss season that can run most of the year put steady pressure on any exterior. Board and batten looks great on these homes, but only if it's built to handle that pressure, not just to look right on installation day.
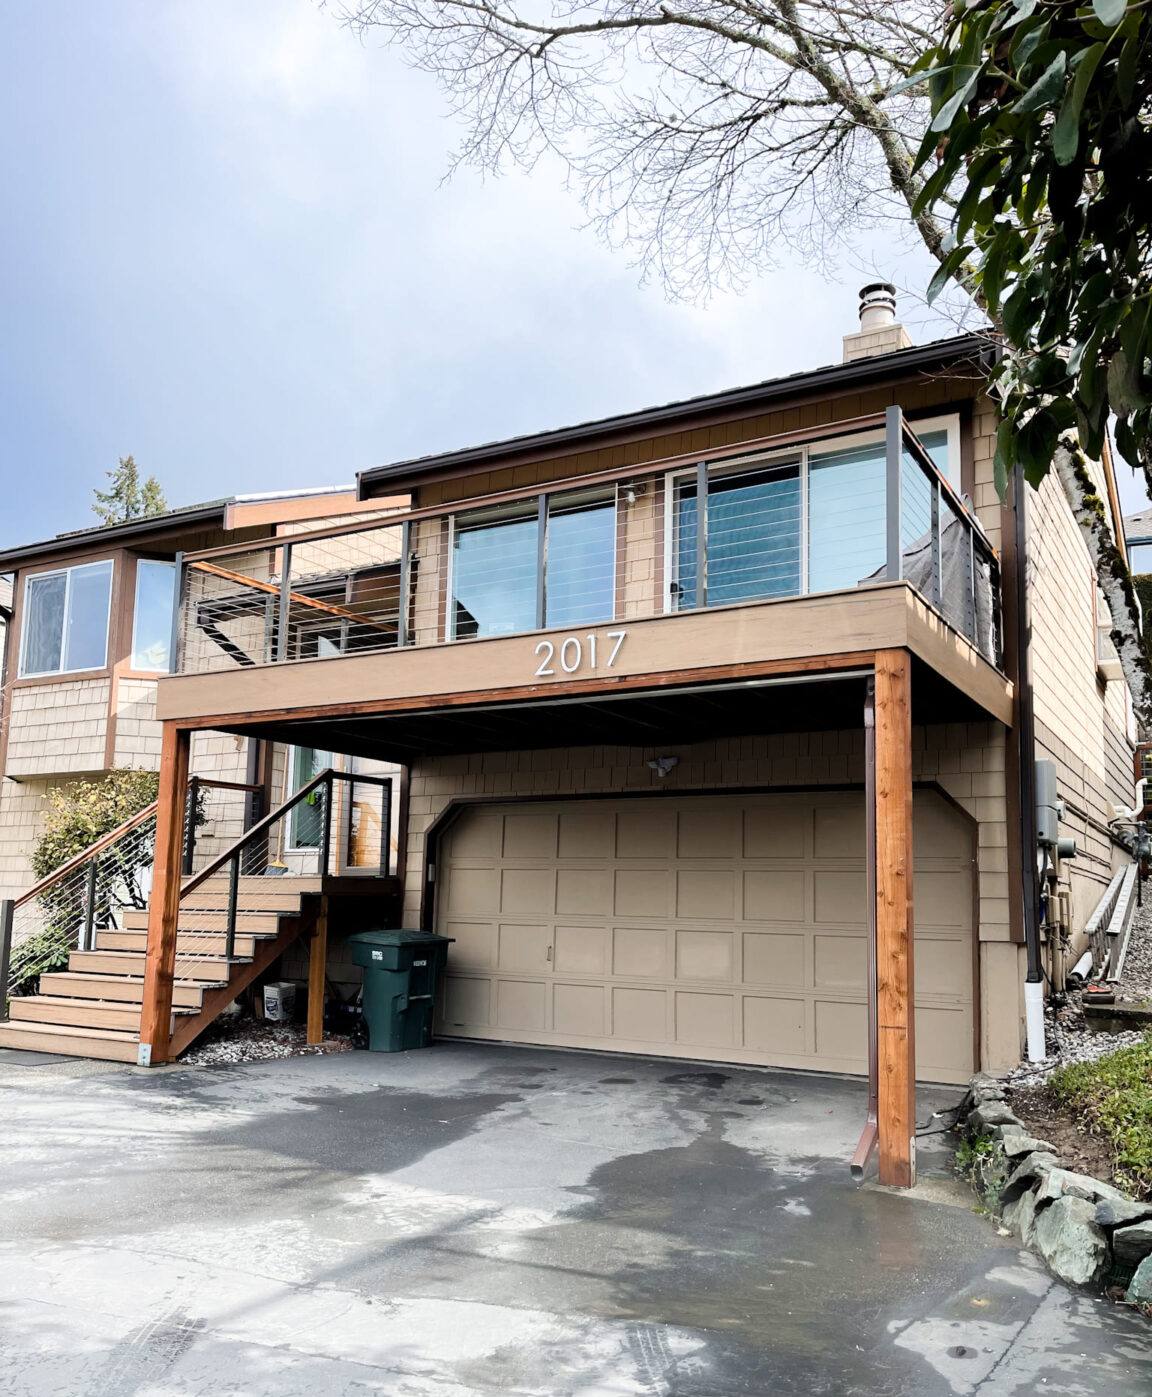
What This Climate Actually Does to a Board & Batten Wall
Board and batten has more seams and more trim than a standard lap profile — every vertical panel joint gets covered by a batten, and every batten is another fastening line and another place water can find its way behind the cladding if the install isn't done right. In a drier climate, sloppy detailing might go unnoticed for years. Around Aldergrove and Lynden, it doesn't.
The specific pressures we plan around
- Driving rain: wind-driven storms push water sideways into vertical joints and batten edges, not just straight down.
- Persistent moisture: short drying windows between rain events mean any trapped water behind the siding stays wet longer.
- Moss and organic growth: shaded elevations and north-facing walls stay damp enough, long enough, for moss and algae to take hold on the wrong material.
- Salt-tinged air: fasteners, flashing, and trim need corrosion resistance, not just paint that looks fine at install.
None of this means board and batten is a bad choice here — it means the profile has to be installed with those four pressures in mind, on paper and in the field, not just picked for the look and installed like a warmer, drier climate wouldn't punish shortcuts.
Why We Install James Hardie Board & Batten, Not Alternatives
We install James Hardie fiber cement exclusively — we don't run crews on vinyl board and batten, LP SmartSide, cedar, or primed spruce versions of this profile, and we won't quote them. Each of those has a real use case somewhere. In this climate, over the years we found the trade-offs didn't hold up for the way this profile is built and the pressures it takes on around here.
Where the common alternatives fall short here
Vinyl board and batten flexes and can show waviness once it's been through a few freeze-thaw and heat cycles, and its seams rely heavily on overlap and clip fit rather than a solid, paintable surface. Cedar board and batten looks excellent new, but the vertical grain and exposed batten edges are exactly where wood absorbs the most moisture, and in a climate with this little drying time, that means more frequent refinishing than most owners want to sign up for. Primed spruce or engineered wood products carry real risk at cut edges and panel joints if field-sealing isn't perfect and stays perfect for years — and in a wet climate, "stays perfect" is the hard part.
James Hardie fiber cement doesn't absorb water the way wood-based products do, doesn't expand and contract like vinyl, and is manufactured with factory-cured ColorPlus finish rather than field paint that starts weathering the day it's applied. It's also non-combustible, which matters as much for insurance conversations as for the climate discussion. That combination is why it's the only board and batten system we put on homes.
What a Correct Board & Batten Installation Involves
The panel and batten themselves are a small part of what actually keeps a board and batten wall dry. Most of the work — and most of the difference between a wall that holds up and one that doesn't — happens in layers you won't see once the job is finished.
The build-up, in order
- Weather-resistive barrier: a continuous drainage plane behind the siding, lapped correctly at every seam so water is directed out, not trapped in.
- Flashing at every penetration: windows, doors, hose bibs, light fixtures, and any trim breaks get flashed before a single panel goes up — this is where most leaks that show up years later actually start.
- Rain screen gap where called for: a small air gap behind the panel lets any incidental moisture drain and dry instead of sitting against the back of the cladding.
- HardiePanel installed to Hardie's fastening spec: correct fastener type, spacing, and embedment — not "close enough," since under-driven or over-driven fasteners are a common failure point.
- HardieTrim battens set with proper reveal and gap: battens are spaced and fastened to cover panel joints without trapping moisture behind them, with clearance at the bottom for drainage and airflow.
- Sealant only where Hardie's install instructions call for it: board and batten needs less caulk than people assume — over-caulking a joint that's supposed to drain is a common mistake that traps water instead of shedding it.
Skip or rush any one of these steps and the wall can look identical to a correct install for the first year or two. The difference shows up later, usually as staining, soft trim, or moss taking hold in spots that should have stayed dry.
Our Process on an Aldergrove or Lynden Project
We walk every home before quoting anything. That means checking existing siding and trim condition, looking at grade and drainage around the foundation, checking roof overhangs and gutter performance, and flagging any elevations that clearly take the worst of the wind-driven rain. Board and batten decisions — reveal width, batten spacing, corner treatment — get made with those conditions in mind, not just picked off a sample board.
From there: removal of existing siding and inspection of the sheathing underneath (this is where hidden moisture damage from a prior install, if any, gets found and dealt with before new siding goes up), correct weather barrier and flashing installation, then the HardiePanel and HardieTrim install itself, finished with factory-applied ColorPlus color so there's no field paint match to worry about. We walk the finished job with the homeowner before calling it done.
Board & Batten vs. Standard Lap Siding — Cost and Performance Factors
| Factor | Board & Batten | Standard Lap Siding |
|---|---|---|
| Material cost | Higher — more trim (battens) per square foot | Lower — fewer trim pieces needed |
| Labor complexity | Higher — more fastening lines and joints to detail correctly | Moderate — fewer seams to flash and seal |
| Look | Vertical, modern farmhouse / rustic | Traditional horizontal shadow line |
| Moisture management | More joints to manage; needs precise flashing and drainage detailing | Fewer vertical joints; overlap sheds water naturally |
| Typical installed range | Generally runs above lap siding due to trim labor | Baseline fiber cement pricing |
Neither profile is objectively "better" — plenty of homes around Lynden and Aldergrove wear board and batten well, often mixed with lap siding as an accent on gables or entry features. The table above is meant to set expectations, not steer a decision; the right call depends on the home's design and what the homeowner actually wants to look at for the next few decades. Any quote we give breaks out labor and material so the trade-offs are visible, not buried in a lump sum.
Why Hiring a Crew That Already Works This Area Matters
A lot of siding problems we get called to look at weren't caused by bad material — they were caused by an install crew applying a generic method that works fine in a milder or drier region but doesn't account for what this specific stretch of the Pacific Northwest does to a wall. Knowing which elevations in this area tend to take the worst wind-driven rain, how much drying time to expect between storms, and where moss actually takes hold first isn't something you get from a manufacturer's install manual alone — it comes from doing this work, on homes like these, season after season. That's the value of hiring locally rather than the lowest bid from outside the area: the crew has already seen how this climate finds the weak points in a board and batten wall, and builds around that from the start.
Maintaining Board & Batten Siding in a Wet, Mossy Climate
- Rinse siding (garden hose pressure, not a pressure washer) once or twice a year to clear pollen, dust, and early moss growth before it takes hold.
- Keep gutters clear and check downspout discharge points so water isn't sheeting down a wall or pooling at the base of the siding.
- Trim back shrubs and trees that shade a wall long enough for moss to establish — airflow and sun exposure are the simplest moss prevention there is.
- Inspect caulked joints (around windows, trim transitions) once a year; Hardie's factory finish holds up well, but sealant is still a maintenance item.
- Watch bottom edges and inside corners after storms for staining, which can signal a drainage or flashing issue worth a professional look before it becomes bigger.
What's Covered, and What to Expect Long-Term
James Hardie backs its siding with a strong transferable limited warranty on the substrate, and ColorPlus finishes carry their own finish warranty separate from the product warranty — worth understanding both before assuming everything is covered the same way. Warranty terms are tied to correct installation per Hardie's published specifications, which is another reason installation quality isn't a nice-to-have; it's what keeps the manufacturer's warranty valid if something ever does need a claim. We'll walk through exactly what's covered on any project we quote, in plain terms, before work starts.
If you're weighing board and batten for a home near Aldergrove, BC or anywhere around Lynden, we're happy to take a look and give you a straight answer on what your home actually needs — no pressure, no obligation. Use the form below to request a free estimate.