 Lynden Siding
 Building New Near Nooksack: What the Climate Asks of Your Windows
Nooksack sits in the wetter, wind-exposed part of Whatcom County, and a new-construction window package here has to earn its keep in ways a drier climate never tests. Marine air drifting in off the Puget Sound lowlands carries a faint salt tinge that slowly works on unprotected metal fasteners and trim. Driving rain off the Pacific comes sideways more often than straight down, which means water hits window assemblies at angles that a lazy installation simply isn't built for. And the long, damp shoulder seasons that blanket this part of Washington in moss and algae growth aren't just a cosmetic nuisance — they're a sign of surfaces that stay wet longer than they should, which is exactly the condition that rots sill framing and fails sealant joints over time.
None of that means new construction here requires exotic materials or gimmicks. It means the basics — flashing sequence, drainage path, fastener selection, and frame material — have to be done correctly and in the right order, every single time, because this climate does not forgive shortcuts the way a drier region might.
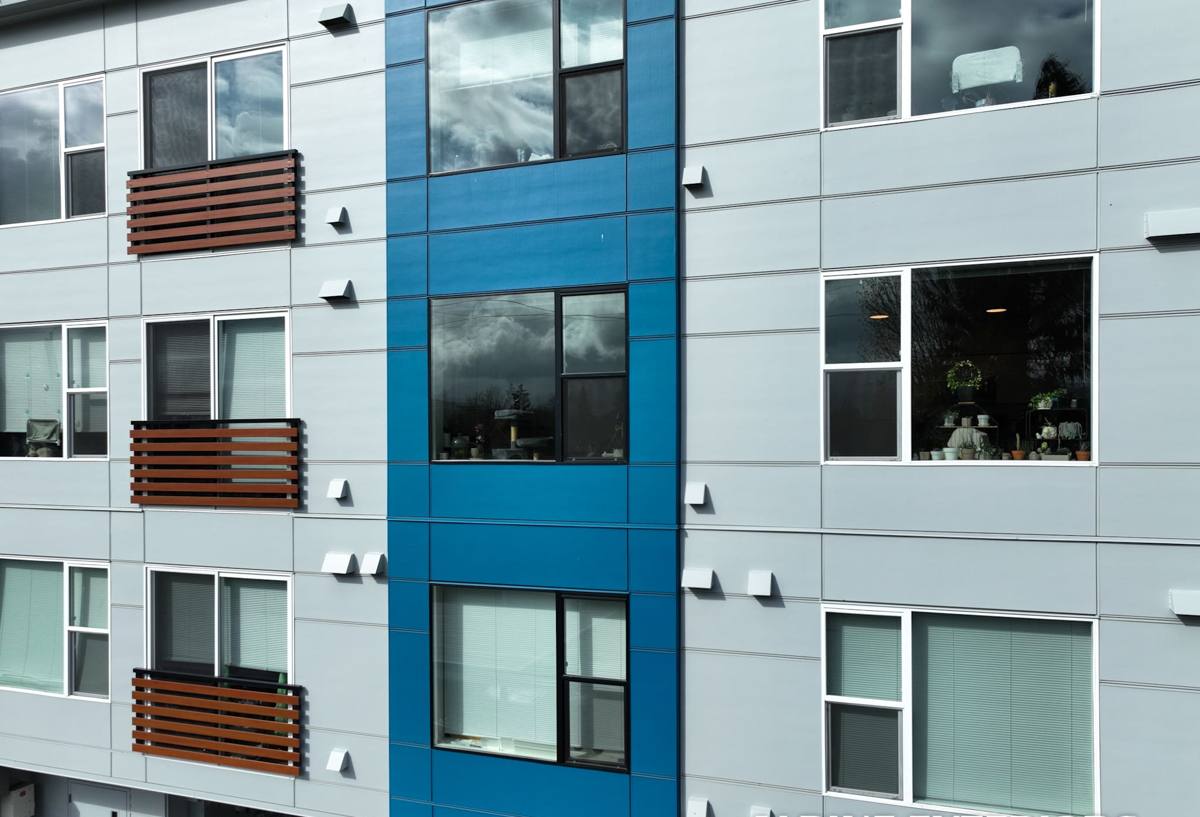
New-Construction vs. Replacement: Why the Distinction Matters
A new-construction window is built with an exterior nailing fin that fastens directly to the wall sheathing before the weather-resistive barrier and siding go on. That's different from a replacement or pocket window, which gets inserted into an existing frame after the home is already finished. The two products solve different problems, and installing one like the other is one of the more common ways a new build ends up with hidden water damage.
Because the nailing fin becomes part of the wall's drainage system, the window has to be integrated with the housewrap and flashing tape in a specific shingle-lap order — bottom, sides, then top — so that any water that gets past the exterior cladding sheds down and out rather than pooling behind the fin. Get that sequence backwards, even slightly, and you've built a pocket for water to collect against framing that won't be visible again until there's a problem.
Rough Openings Set the Tone for Everything After
Before a window ever goes in, the rough opening needs to be square, correctly sized with manufacturer-specified tolerances, and free of debris or damaged sheathing. On a new build, this is a coordination point between the framing crew and whoever is installing windows — a crew that only shows up for one phase of a build and doesn't communicate with the framers is more likely to find (or cause) an opening that's out of tolerance and just work around it rather than fixing it.
What a Correct Installation Involves
The Sill Pan Comes First
A sloped sill pan flashing with a back dam is the single most important detail in a new-construction window install in a driving-rain climate. It gives any water that makes it past the window itself — through a failed seal, condensation, or wind-driven infiltration — a dedicated path back outside instead of a route into the wall cavity. Skipping the sill pan, or installing a flat one without a back dam, is a shortcut that looks fine on install day and shows up as rot years later.
Weather-Resistive Barrier Integration
The window fin has to be woven into the house wrap, not just taped over it. Flashing tape at the jambs and head needs to lap correctly with the WRB above and below so the whole assembly sheds water downward and outward as one continuous plane. This is where driving rain exposure matters most — a wall facing the prevailing weather needs the same care as a sheltered wall, because wind-driven rain finds gaps that vertical rain never would.
Fastening, Shimming, and Sealing
Windows need to be shimmed plumb, level, and square at the manufacturer's specified fastening points — not just at the corners — so the frame doesn't rack or bow under wind load. Sealant at the interior and exterior trim should be a quality, paintable, exterior-grade product, and it's a backup to good flashing, not a substitute for it. A window that relies on caulk alone to stay dry is a window that will eventually leak.
Choosing a Frame Material for This Climate
There's no single "best" frame material for every new build — the right choice depends on budget, the home's design, and how exposed the elevation is to driving rain and standing moisture. Here's how the common options compare for a Whatcom County new-construction project:
| Frame Material | Moisture Behavior | Maintenance | Typical Cost Position |
|---|---|---|---|
| Vinyl | Won't rot; seams and welded corners need to be installed correctly to stay watertight | Low — occasional cleaning | Most affordable |
| Fiberglass | Dimensionally stable in temperature swings; handles sustained damp exposure well | Low | Mid to upper-mid |
| Wood-clad | Exterior cladding protects the wood, but any breach in the cladding or sealant lets moisture reach bare wood | Higher — cladding joints and sealant need periodic inspection | Highest |
| Aluminum | Highly durable but conducts cold and can condense in this climate without a thermal break | Low | Varies by product |
For most Nooksack-area new builds, vinyl or fiberglass strike the best balance of moisture tolerance and cost. Wood-clad units can be the right call architecturally, but we're honest with clients up front that they carry a higher long-term maintenance burden in a climate with this much sustained dampness — that's a trade-off worth knowing before you commit, not a reason to avoid the product outright.
Orientation, Overhangs, and Moss: Decisions That Compound Over Time
Which direction a window faces changes what it needs to survive. Elevations that take the brunt of the prevailing wind and rain need tighter flashing detail and, ideally, deeper roof overhangs or trim details that throw water away from the wall rather than letting it run straight down the face. North-facing and heavily shaded elevations are where moss and algae take hold fastest, because those surfaces simply don't dry out between rain events the way a sun-exposed wall does. That growth doesn't damage a window directly, but it holds moisture against trim and sealant joints longer, which shortens the life of both.
These aren't decisions you can fix later without real cost, which is why they're worth getting right at the design and install stage rather than treating them as an afterthought.
Our Process From Rough Opening to Final Seal
On a new-construction project, we coordinate directly with the builder or general contractor so window installation lands at the right point in the sequence — after sheathing and WRB, before final siding. Our process generally looks like this:
- Verify rough openings against manufacturer specs and flag any framing issues before windows arrive
- Install sloped sill pan flashing with a back dam at every opening
- Set the window plumb, level, and square, shimmed at all manufacturer-specified points
- Fasten through the nailing fin per the manufacturer's schedule
- Integrate flashing tape and WRB in proper shingle-lap order at jambs, sill, and head
- Seal interior and exterior trim with exterior-grade sealant
- Walk every opening for square, operation, and a visual water-path check before siding closes it in
That last step matters more than it sounds like it should. Once siding goes on, a flashing mistake is hidden for years — the walk-through before close-in is the last real chance to catch it.
Energy Performance and Washington's Building Code
Washington's state energy code sets minimum performance requirements for new-construction glazing, covering both how much heat a window lets escape and how much solar heat it lets in. Those minimums have gotten stricter in recent code cycles, and the right specification for your project depends on the home's overall design, its orientation, and how the rest of the building envelope performs. We help clients and builders pick window performance ratings that meet code and make sense for the specific home, rather than defaulting to whatever's cheapest to source.
Why a Crew That Already Works Nooksack Matters
A lot of new-construction window problems in this area trace back to installers who normally work in drier, calmer climates applying habits that don't hold up here. A crew that regularly works Lynden and the surrounding Whatcom County communities already knows which elevations on a typical new build take the worst of the driving rain, how the local framing tolerances tend to run, and which details can't be shortcut even when a schedule is tight. That familiarity shows up in fewer callbacks and fewer surprises once the siding goes on and the flashing work disappears from view.
It also means we're a known, reachable presence if a question comes up during a county inspection or a builder wants a second set of eyes on a detail before it gets covered. That kind of continuity is hard to get from an outfit that only passes through the area occasionally.
Get a Straight Answer for Your Project
If you're framing up a new home or addition near Nooksack and want windows installed the right way the first time, we're happy to take a look at your plans and walk the site. There's no pressure and no charge for an estimate — just a straight assessment of what your project needs and what it'll cost to do it correctly.