 Lynden Siding
 Building New in Custer: What Your Windows Are Up Against
Custer sits close enough to the water that salt air is part of daily life on a house, not an occasional guest. Combine that with Whatcom County's driving rain, coming in sideways off Georgia Strait weather systems more often than most homeowners expect, and a moss season that can run half the year on shaded north and west walls, and you get a climate that is genuinely tough on window openings. New construction gives you one real chance to get the window-to-wall connection right before siding, trim, and interior finish cover it up. Get it wrong here and you're not dealing with a cosmetic issue five years later — you're dealing with rot in the framing around the opening, stained drywall, and a repair that requires opening the wall back up.
We install new-construction windows across Lynden and the surrounding Whatcom County towns, including Custer, and we build every opening assuming it will eventually see wind-driven rain from a direction the original plans didn't anticipate. That's not pessimism — it's just how weather behaves out here.
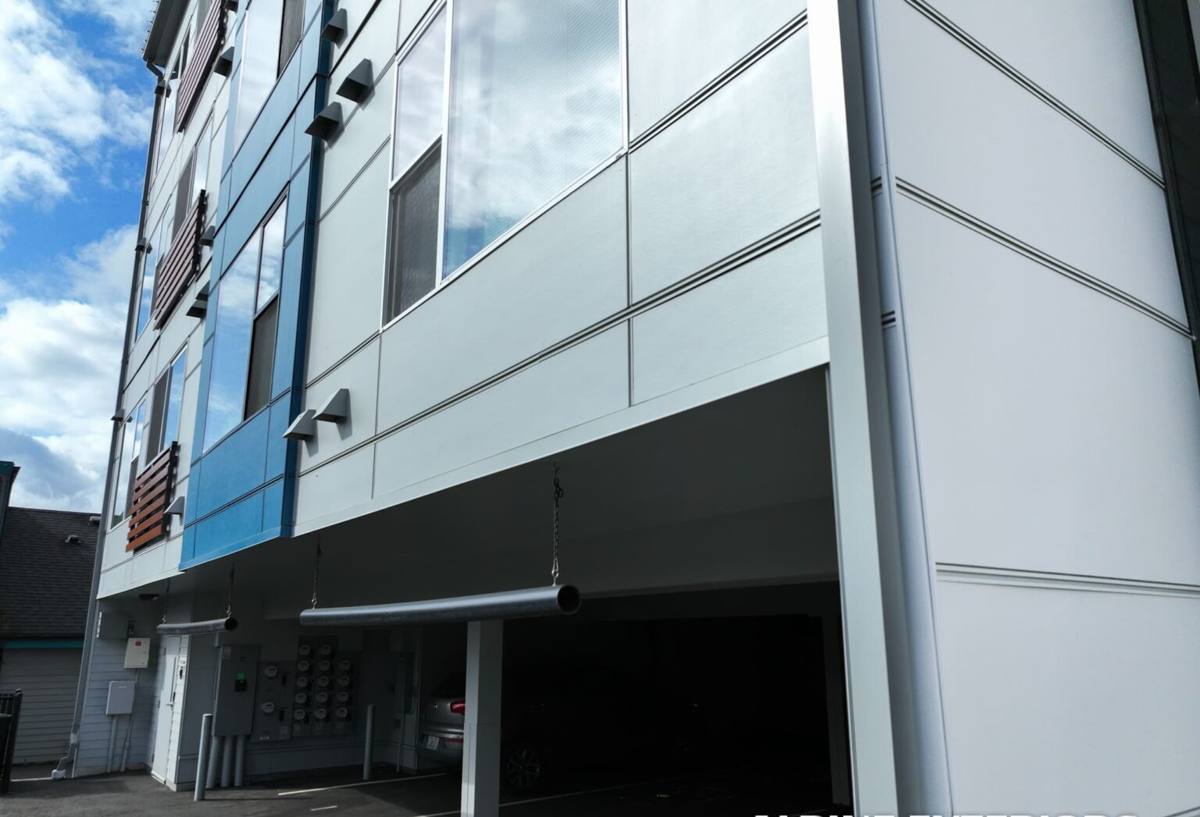
New-Construction vs. Replacement Windows — Why the Distinction Matters
A lot of homeowners use "new windows" and "replacement windows" interchangeably, but on a new build or an addition, this distinction changes the entire installation approach — and it changes what protects your walls.
| Factor | New-Construction Window | Replacement (Insert) Window |
|---|---|---|
| Installation method | Nailing fin fastened directly to sheathing, fully integrated with the water-resistive barrier (WRB) | Fits inside the existing frame; relies on the old frame and exterior trim for weatherproofing |
| When it's used | New builds, additions, or openings being reframed | Existing homes where the wall isn't being opened up |
| Flashing access | Full access to sill pan, jamb flashing, and head flashing before siding goes on | Limited — much of the original flashing stays in place, good or bad |
| Best fit for Custer's climate | Preferred — lets us build a complete drainage plane from the start | Fine for like-for-like swaps, not appropriate for a new opening |
This page is specifically about the first category: windows going into openings that are being framed or reframed, where we control the entire moisture-management assembly from sheathing out.
What a Correct New-Construction Window Install Involves
The window unit itself is rarely the point of failure. Almost every window leak we've opened up and diagnosed traces back to how the opening was flashed and sequenced, not a defect in the window. A correct install, in order, looks like this:
- Rough opening check. Confirming the opening is square, level, and sized correctly with proper clearance — before the window ever shows up on site.
- Sill pan flashing. A sloped, sealed pan at the bottom of the opening so any water that does get past the window has somewhere to go besides the framing.
- WRB integration. The house wrap or building paper is cut, lapped, and sealed so water sheds over the top of the flashing at every layer — never behind it.
- Setting the window and fastening the nailing fin. Shimmed plumb and square, fastened per the manufacturer's schedule, with the fin fully bedded so there's no gap for water to track behind it.
- Jamb and head flashing. Installed in the correct shingle-lap order — head flashing goes in last, over everything below it, tucked behind the WRB above the opening.
- Interior and exterior sealing. Low-expansion foam or backer rod and sealant at the interior for air sealing, and compatible exterior sealant at trim joints — never sealant as a substitute for proper flashing.
Skip or shortcut any one of those steps and the window can look perfect for years while water is quietly getting behind the fin. That's the failure mode we see most often on homes near the coast, where wind pressure pushes rain into gaps that would be a non-issue in a drier, calmer part of the state.
Why Sequencing Matters More Than Product Quality
A high-end window installed out of sequence will leak. A mid-range window installed in correct shingle-lap order, with a proper sill pan, will hold up for decades. We'd rather spend the time on sequencing than upsell you on a window line you don't need.
Choosing Window Materials and Glass for Custer's Climate
Material choice matters less than installation quality, but it's not irrelevant — especially with salt air in the mix. Here's what we walk homeowners through:
- Vinyl: Cost-effective, low maintenance, and handles moisture well. A solid choice for most new-construction openings in this area.
- Fiberglass: More dimensionally stable across temperature swings, holds paint well if you want a custom color, and resists the slow degradation salt-laden air can cause to some finishes over time.
- Wood or wood-clad: Attractive, but higher maintenance in a climate with this much sustained moisture and moss growth — we're upfront that this is a real ongoing commitment, not a one-time upgrade.
- Glass package: Double-pane, low-E, argon-filled is the practical baseline here. It's less about extreme cold and more about condensation control and cutting the west-facing glare and heat gain some Custer lots get off open water views.
- Hardware and weatherstripping: Corrosion-resistant hardware is worth the small upcharge this close to salt air — standard hardware finishes can pit and stick faster than homeowners expect.
We'll talk through brand and line options once we know your budget and the specific exposure of your build — a window on a sheltered south wall doesn't need the same spec as one facing open wind on the north or west side.
Our Process From Rough Opening to Final Seal
1. Site Visit and Plan Review
We look at your plans or framed openings, note exposure direction, roof overhang, and grade, and flag anything that needs adjusting before windows are ordered.
2. Product Selection
We help you pick material, glass package, and grille style that fits the home's design and your budget — without overselling features you don't need.
3. Flashing and Installation
Every opening gets sill pan flashing, correct WRB integration, and shingle-lapped jamb and head flashing, regardless of window brand. This step doesn't get shortcut to save time.
4. Interior and Exterior Finish Coordination
We sequence with your siding and trim crew (or handle both if we're doing your siding too) so the drainage plane stays continuous from foundation to roofline — no gaps where trades hand off to each other.
5. Final Walkthrough
We check operation, seal lines, and trim on every window before we call the job done.
Common Mistakes We See in New-Construction Window Installs
Most of these come from crews that install windows occasionally rather than as a core part of their trade, or from rushing to keep pace with a framing schedule:
- Fastening the nailing fin before the sill pan is fully sealed and dry
- Reversing the flashing sequence so head flashing goes in before the WRB above it is lapped over — sending water straight behind the assembly
- Using sealant as the primary water barrier instead of a backup to proper flashing
- Skipping a sloped sill pan on a flat sill, leaving standing water against the frame
- Poor coordination between the window install and siding crew, leaving a gap in the drainage plane at the handoff
Cost Factors for New-Construction Window Installation
| Factor | How It Affects Cost |
|---|---|
| Window count and size | More openings and larger units (picture windows, sliders) mean more material and labor |
| Material choice | Vinyl is typically the most budget-friendly; fiberglass and wood-clad run higher |
| Glass package | Upgraded low-E coatings or specialty glass add cost per unit |
| Wall height and access | Two-story openings or difficult access add labor time |
| Coordination with siding/trim | Bundling window install with siding work can reduce overall labor and improve sequencing |
We give straightforward, itemized estimates rather than a single lump number, so you can see exactly where the cost is coming from and make informed choices on material and glass without guessing.
Why a Crew That Already Works Custer Matters
Whatcom County's building conditions aren't uniform — a lot on open ground near the water takes a different wind and rain load than one tucked into trees a few miles inland, and the right flashing detail can shift accordingly. A crew that's installed windows across Lynden and the surrounding towns, including Custer, has already seen how these openings perform two, five, and ten years out — not just how they look on install day. That experience is what tells us where to add extra flashing lap, which sills need a more aggressive slope, and which exposures justify the upgrade to corrosion-resistant hardware. It's the difference between a window that's technically installed to code and one that's actually built for this specific climate.
If you're framing a new home or addition in Custer and want the window openings done right the first time, we'd be glad to walk the plans with you and put together a free, no-pressure estimate — just fill out the form below.