 Lynden Siding
 Building New in Sumas Means Getting the Windows Right the First Time
When you're building new in Sumas, the windows aren't a fix-it-later item. They go in once, they get sealed into the wall assembly, and the framing, siding, and interior finish work all build around them. Get the installation wrong at this stage and you're not looking at a caulk touch-up in five years — you're looking at torn-out siding, rotted sheathing, and a warranty claim nobody wants to deal with.
Whatcom County throws a specific combination of weather at a house: long stretches of driving rain pushed by wind off the water, damp marine air that never fully dries out for months at a time, and a moss season that coats north-facing surfaces in growth that holds moisture against the building. New-construction windows here need to be installed with all of that in mind from day one, not treated like a generic product dropped into a generic opening.
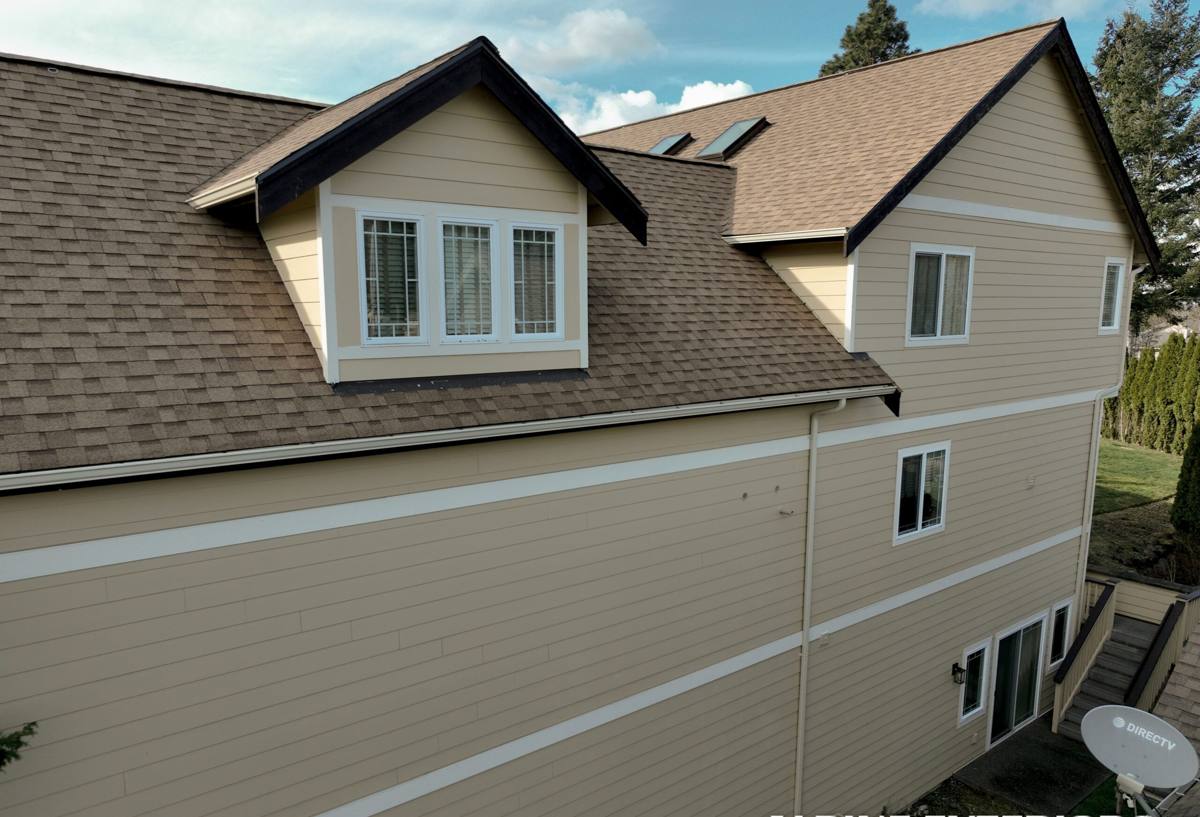
New-Construction vs. Replacement: Why the Job Is Different
A lot of homeowners assume a window is a window, and installation is installation. It isn't. New-construction windows are installed before the siding goes on, using a nailing flange (or "nail fin") that gets fastened directly to the sheathing and integrated into the house wrap and flashing system as the wall is built. Replacement windows go into an existing, already-sided opening and use a different set of techniques entirely. Mixing up the two approaches — or having a crew that mostly does replacement work handle a new build — is one of the more common ways water problems get baked into a house before it's even finished.
Nail-Fin Installation and Flashing Sequence
On a new build, the window has to be installed in the correct order relative to the weather-resistive barrier: flashing tape or membrane goes down at the sill first, the window gets set and fastened through the nail fin, then head flashing and side flashing tie back into the house wrap above and beside the opening. Every layer has to shingle over the one below it, the same way roof shingles overlap, so water is always directed outward and down — never trapped behind a layer that's lapped backward.
Working With the Building Envelope, Not Around It
A new-construction window installation has to work with the rest of the envelope: the house wrap, the sheathing seams, the rough opening dimensions from the framer, and eventually the siding trim. That means the window crew needs to be reading the same plans as the framers and coordinating with whoever installed the weather barrier, rather than treating the opening as an isolated task.
What a Correct New-Construction Window Installation Involves
There's no substitute for doing each step in the right order. On every new build we work, that means:
- Checking the rough opening for square, level, and correct dimensions before the window ever gets set
- Installing a sloped sill pan or sill flashing so any water that gets past the window has somewhere to go besides your framing
- Applying flashing tape in the correct shingle-lap order — sill, then jambs, then head
- Setting the window plumb, level, and square, then fastening through the nail fin per the manufacturer's schedule
- Sealing and taping the nail fin into the house wrap so the window becomes part of one continuous drainage plane
- Installing head flashing that directs water out and away from the top of the opening
- Insulating the gap between the window frame and rough opening — not overpacked, not left empty
- Interior air-sealing so conditioned air isn't leaking out around the frame
Skip or rush any one of those steps and the window itself can be a fine product and still let water into the wall. Most of the water damage we get called out to inspect in newer homes traces back to a flashing sequence that was done out of order, not a bad window.
Choosing the Right Window for a Sumas New Build
Frame material matters more in a climate like this than it does somewhere dry. Here's how the common options stack up for a new-construction project in Whatcom County conditions:
| Frame Material | Moisture Performance | Maintenance | Typical Cost Position |
|---|---|---|---|
| Vinyl | Won't rot or corrode; seams need quality welds | Low — occasional cleaning | Most affordable |
| Fiberglass | Very stable in wet/dry cycling, low expansion-contraction | Low | Mid to upper-mid |
| Wood-clad | Good if cladding and seals stay intact; interior wood needs a dry envelope | Higher — finish and seal upkeep | Highest |
| Aluminum | Prone to condensation without thermal breaks; can corrode near salt-influenced air over time | Moderate | Varies |
We don't push one brand as the only option — the right choice depends on your budget, the home's design, and how much upkeep you want to take on later. What we won't do is install a frame material or configuration that we know performs poorly against sustained wind-driven rain, just because it's cheaper up front. That's a standard we hold on every job, not a knock on any specific manufacturer.
Glass and Performance Options Worth Considering
For a new build in this area, low-E glass and a warm-edge spacer system are worth the upfront cost — they cut down on interior condensation during our wetter, colder months, which in turn reduces the moisture that feeds mold and mildew around window frames. Double-pane is standard; triple-pane is available for homeowners who want the extra thermal performance, though it's a bigger investment and not something everyone needs on a Whatcom County build.
Our Process for New-Construction Window Installation
We coordinate directly with your builder or general contractor so the timing lines up with framing and house wrap installation. In general, the process looks like this:
- Review the plans and rough opening schedule with the builder before framing is finalized
- Confirm window sizes, tempered-glass requirements, and egress code compliance for each opening
- Inspect rough openings once framing is complete and flag any issues before installation day
- Install sill pans, flashing, and windows in the correct sequence, coordinated with the house wrap installer
- Document flashing and installation with photos at each stage for your records
- Final walkthrough to check operation, seals, and trim-out readiness before siding begins
That documentation step matters more than people expect. Once siding goes up, the flashing behind it is invisible. Having a photo record of how each window was flashed gives you and your builder something concrete if a warranty question ever comes up years down the road.
Common Mistakes We See on New Builds — and How We Avoid Them
Most window failures in new construction aren't dramatic — they're small sequencing errors that don't show up for a few years. The ones we watch for:
- Flashing tape applied in the wrong order, directing water inward instead of out
- Nail fins fastened without enough tape or sealant integration into the house wrap
- Rough openings that are out of square, forcing the window frame to rack and stress the seals
- Missing or improperly sloped sill pans, leaving nowhere for incidental water to drain
- Insulation gaps packed too tight, which can bow the frame and affect operation
- Head flashing omitted or installed flush instead of with a slight outward slope
Every one of these is preventable with a crew that treats window installation as part of the building envelope, not a standalone task to knock out quickly.
Why Hiring a Crew That Already Works in Sumas Matters
A window installer who mostly works drier inland climates or does high-volume replacement work in milder regions isn't necessarily thinking about wind-driven rain angles, moss buildup on north-facing walls, or the extended wet season that Whatcom County sees. Local experience means we've already seen how these window systems perform after a few full winters in this specific climate — not just how they look on installation day.
It also means practical things: knowing which flashing products hold up to our humidity and temperature swings, understanding permit and inspection expectations in this part of Whatcom County, and being available to come back and check on a job without a long drive or scheduling delay.
Living With New Windows in Sumas: What to Expect Long-Term
Even a correctly installed window needs a little attention in this climate. Moss and organic buildup can accumulate on frames and sills that stay shaded and damp, especially on north- and west-facing elevations. A properly flashed and sealed window won't let that moisture into the wall, but leaving moss or debris packed against a sill for months at a time is still worth avoiding — a quick rinse and brush a couple of times a year keeps sills draining the way they were designed to.
Weep holes at the base of the frame are there for a reason: they let any water that gets into the frame track drain back out. Keeping those clear of dirt, moss, or paint overspray is one of the simplest things a homeowner can do to keep a new window performing the way it should for the long haul.
Ready to Talk About Your New Build?
If you're framing up a new home in Sumas or planning one soon, we're happy to walk through window selection and installation timing with you or your builder before framing locks anything in. Reach out for a free, no-pressure estimate — there's a form right below to get started.