 Lynden Siding
 Windows Built for the Wet Side of the Fraser Valley
Abbotsford sits in one of the wettest corners of the Pacific Northwest. Storms roll in off the coast, get squeezed against the foothills, and dump rain on this end of the valley for months at a time. Add the moisture that carries inland through the Fraser Valley and Whatcom County corridor, and you get a climate that is genuinely hard on window assemblies — not just the glass, but the frames, the flashing, and everything holding the water out. A window that was installed correctly for a drier climate can fail here years ahead of schedule.
We're a Lynden-based crew that already works this stretch of the border regularly, so Abbotsford is not an unfamiliar market for us. We know what driving rain does to a poorly flashed frame, what a long moss season does to sills and tracks, and what salt-tinged marine air does to hardware over time. This page is about window installation specifically for Abbotsford homes — what the climate demands, what a correct install actually involves, and how our process handles it.
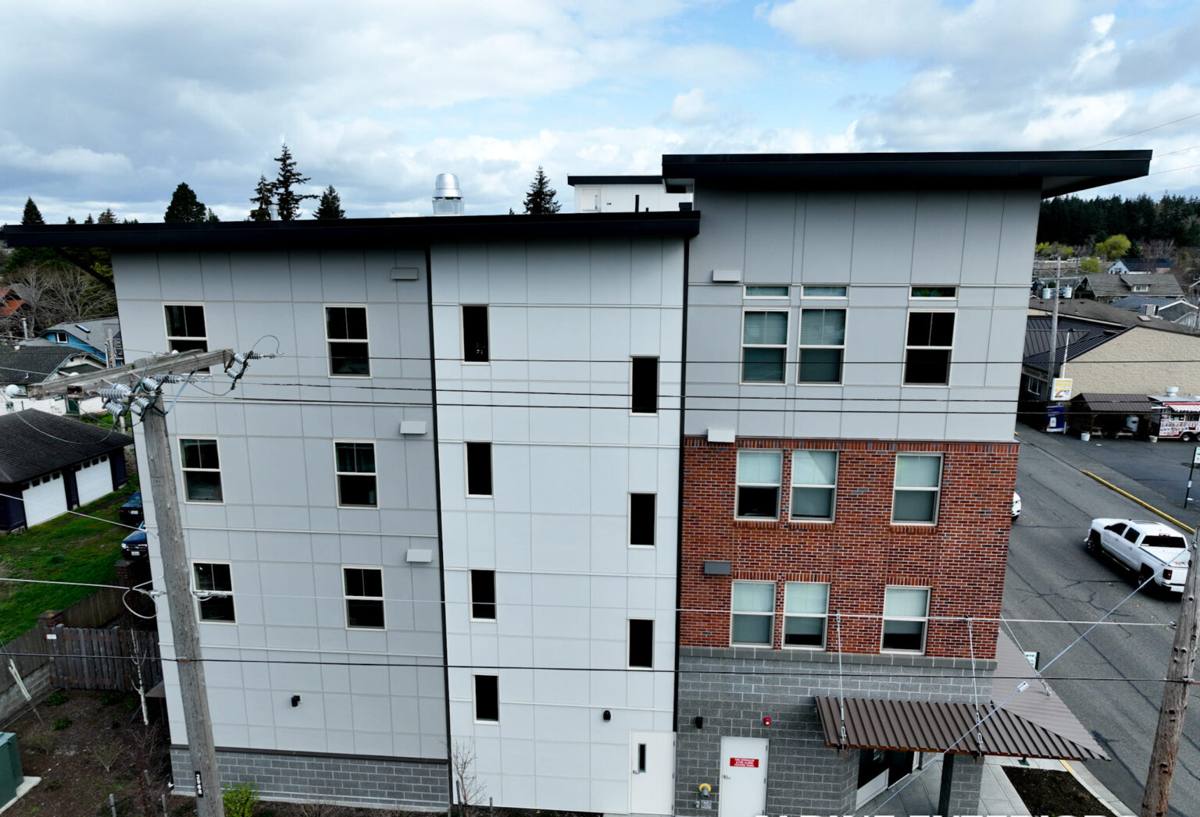
How This Climate Wears Down Windows
Most window failures around here aren't sudden. They show up as slow, specific symptoms tied directly to the weather pattern:
- Seal failure and fogging — repeated wet-dry cycling stresses the insulated glass unit's seal faster than in drier regions, leading to condensation trapped between the panes.
- Sill and jamb rot — wood components that stay damp for weeks at a stretch during the rainy season are prime territory for rot if the original flashing didn't shed water properly.
- Moss and algae in tracks — a moss season that runs most of the year means organic growth builds up in frame tracks and weep holes, blocking drainage paths that are supposed to carry water back outside.
- Hardware corrosion — locks, hinges, and balances that aren't rated for a damp marine climate can pit and seize well before the glass itself is a problem.
- Drafts around the frame — settling, shrinking caulk, and failed weatherstripping let cold, damp air in, which shows up as higher heating bills and cold spots near the window.
None of these are things you can install your way out of entirely — wood, vinyl, and glass all age. But a correct installation slows every one of them down by years, and a poor one accelerates all of them at once.
What a Correct Window Installation Actually Involves
Removal and Structural Check
Pulling the old window is also our first look at what's been happening behind the trim. Soft framing, stained sheathing, or rusted fasteners tell us whether there's hidden rot or water intrusion that needs to be dealt with before a new window goes in. Installing a new window over a damaged rough opening just hides the problem for a while — it doesn't fix it.
Flashing and Water Management
This is the part that actually determines whether a window survives our climate. Flashing has to be layered correctly — sill pan first, then side flashing, then head flashing — so that any water that gets past the exterior cladding is directed back out and down, never trapped against the framing. In a climate with as much driving rain as this one gets, a shortcut here is the single most common cause of early failure.
Insulation and Air Sealing
The gap between the window frame and the rough opening needs to be sealed and insulated correctly — not overpacked with expanding foam, which can bow the frame, and not left with unsealed gaps, which let in both cold air and moisture. Backer rod and the right sealant at the exterior joint, low-expansion foam or batt insulation in the cavity, and proper interior air sealing all matter here.
Fastening, Shimming, and Squaring
A window that isn't shimmed level and square will bind, won't seal evenly, and puts uneven stress on the frame that shows up as leaks or operating problems within a few years. This step takes time to do right, and it's one of the easiest things for a rushed crew to shortcut.
Interior and Exterior Finish
Trim, caulking, and touch-up paint or stain finish the job — but the caulk joints around the exterior trim are also part of the water management system, not just cosmetic. We use exterior-rated sealant sized to the joint and give it time to cure properly before calling the job done.
Choosing the Right Frame Material for This Climate
There's no single "best" window material — the right choice depends on the exposure of the wall, your budget, and how much upkeep you want to take on. Here's how the common options hold up under sustained rain and a long damp season:
| Frame Material | How It Handles This Climate | Maintenance | General Cost Tier |
|---|---|---|---|
| Vinyl | Won't rot; performs well against moisture, but can flex over time on larger units | Low — occasional cleaning | Lower |
| Fiberglass | Very stable in wet, temperature-swinging conditions; strong long-term performer | Low | Mid to higher |
| Wood (unclad) | Handsome, but the most vulnerable to our rain and moss season without diligent upkeep | High — regular paint/finish maintenance | Higher |
| Wood-clad or aluminum-clad | Exterior cladding sheds water while keeping the wood interior look; a solid middle ground | Moderate | Higher |
For most Abbotsford-area homes exposed to prevailing weather, we lean toward vinyl or fiberglass for durability against sustained moisture, and reserve unclad wood for sheltered locations or homes where matching existing trim is a priority. We're not tied to pushing one product line — the goal is picking what will actually hold up on your specific wall, not whatever carries the best margin.
Our Installation Process, Step by Step
- On-site assessment — we look at existing windows, framing condition, and exposure before quoting anything.
- Measurement and product selection — exact sizing and material choice based on the wall's exposure and your priorities.
- Scheduling around weather — openings are exposed to the elements during the swap, so we plan around forecasted rain rather than working through it.
- Removal and structural check — old window out, rough opening inspected and repaired if needed.
- Flashing and sill pan installation — the water management layer, done before the new window ever goes in.
- Window set, shim, and fasten — leveled, squared, and secured to manufacturer spec.
- Insulate and seal — cavity insulation and exterior/interior sealant.
- Trim and finish — interior and exterior trim reinstalled or replaced, final caulk lines.
- Walkthrough — we test operation, check the seals, and go over care with you before we leave.
Why a Lynden Crew That Already Works Abbotsford Matters
Lynden and Abbotsford sit close enough together that a lot of trade and daily life already crosses the border between them. That proximity is useful, but it also means the work itself carries a few extra considerations that a crew unfamiliar with cross-border jobs can get wrong: proper business registration and coverage to legally perform work on the Canadian side, coordinating material and crew crossings so a job doesn't stall waiting on paperwork, and building to what Abbotsford's local permitting actually requires rather than assuming Washington rules carry over. Window replacements that change the size of an opening, alter a load-bearing wall, or affect egress typically need a permit from the City of Abbotsford — straight swaps in an existing opening usually don't, but it's worth confirming before work starts rather than after.
None of that should be the homeowner's problem to sort out. Because we already work this corridor regularly, the logistics — border timing for materials, the right paperwork, knowing which jobs need a permit — are handled on our end, not figured out on the fly on your job.
What Drives the Cost of a Window Installation
Every home is different, so we'd rather walk your property and give you real numbers than quote a price sight unseen. In general, though, these are the factors that move the number:
| Factor | Why It Matters |
|---|---|
| Number and size of windows | More openings and larger units mean more material and labor |
| Frame material | Vinyl, fiberglass, and clad-wood carry different material costs |
| Condition of the rough opening | Hidden rot or framing damage adds repair time before the new window can go in |
| Access and exposure | Upper-story or hard-to-reach openings take longer and require more setup |
| Full-frame vs. insert replacement | Full-frame replaces down to the studs; inserts fit into a sound existing frame and cost less but depend on that frame being in good shape |
| Trim and finish work | Matching existing trim profiles or repainting adds labor beyond the window itself |
A Maintenance Checklist to Protect the Investment
A correctly installed window still needs a little seasonal attention in this climate. This is what we recommend to homeowners after every install:
- Clear moss and debris from window tracks and weep holes at least twice a year, more often in shaded or north-facing exposures
- Check exterior caulk lines annually for cracking or separation, especially after a hard winter
- Wipe down and lightly lubricate hardware (locks, hinges, balances) to slow corrosion from damp air
- Look for soft spots or discoloration on interior sills, which can signal a seal or flashing problem starting
- Keep gutters and downspouts clear so roof runoff isn't sheeting down across window heads
- Trim back vegetation that keeps a window's exterior shaded and damp for long stretches
Most of this takes fifteen minutes a couple of times a year and catches small problems long before they turn into a rot repair or a full replacement.
Get a Straight Answer on Your Windows
If your windows are fogging, drafting, sticking, or just showing their age, we're glad to take a look and give you an honest read on whether they need replacing now or can hold a while longer. Reach out for a free, no-pressure estimate — we'll walk the property, talk through options that make sense for your home and budget, and give you real numbers before any work starts.