 Lynden Siding
 Siding Installation in Nooksack: What the Climate Actually Demands
Nooksack sits in the lowland corridor between the Cascade foothills and Bellingham Bay, which means homes here get the worst of both worlds: marine air pushing inland off the Sound and heavy runoff draining down from the mountains. That combination shows up on siding as three specific problems — driving rain that gets pushed sideways into wall assemblies during winter storms, salt-tinged moisture that accelerates corrosion on fasteners and trim, and a moss and algae season that can run eight months or longer on north-facing and shaded walls. Siding that isn't installed with this climate in mind doesn't fail overnight. It fails slowly, at the seams, behind trim, and at the bottom courses where splash-back keeps material wet for days after a storm passes.
A correct installation in Nooksack isn't just about nailing panels to a wall. It's about managing water at every transition — window and door openings, corner boards, butt joints, and the bottom of the wall — so the assembly can dry out between the frequent wet stretches that define a Whatcom County winter. That's the standard we hold every Nooksack installation to, regardless of which house style or budget we're working with.
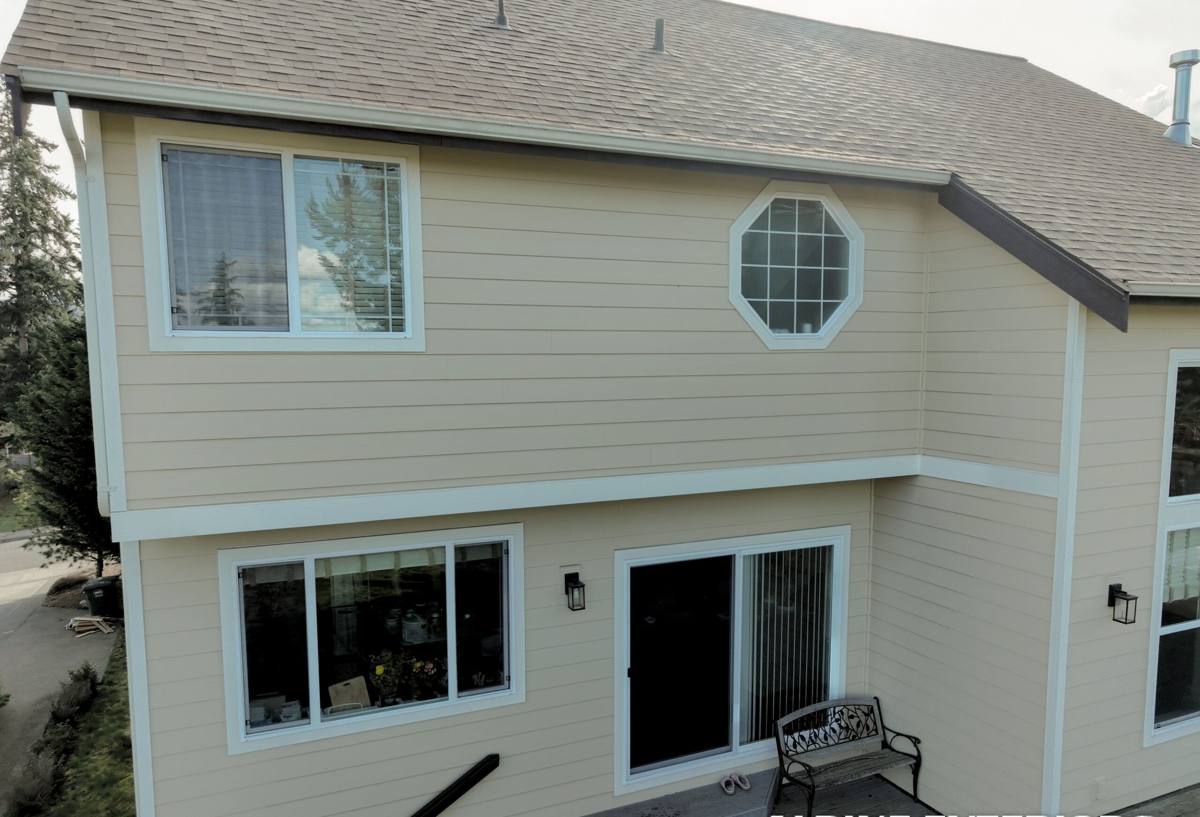
What a Correct Siding Installation Involves
Siding installation is often treated like a cosmetic upgrade, but the visible panel is the last layer of a system that has to work together. A correct job includes:
- A weather-resistive barrier installed and lapped correctly, with no gaps at penetrations
- Properly flashed windows, doors, and any roof-to-wall or deck-to-wall transitions
- Rainscreen or furring strategy where the wall assembly needs a drainage gap behind the siding
- Correct fastener type, spacing, and penetration depth for the specific siding product
- Proper clearance at the foundation, roofline, and any horizontal surfaces where water can pool or splash
- Sealed and back-primed cut ends, especially on fiber cement, where factory-finished edges are the norm and field cuts are the exception
Skip any one of these steps and the siding may look fine for a year or two before problems start showing up behind it, which is exactly why so many "look right" jobs end up with rot, staining, or mold complaints a few winters later.
Why We Install Only James Hardie Fiber Cement
We made a deliberate decision years ago to install one siding system — James Hardie fiber cement — and nothing else. Not vinyl, not LP SmartSide, not Cemplank or Allura, not primed spruce or cedar. That's a narrower lineup than most contractors offer, and we think that's the point.
Vinyl is inexpensive and low-maintenance, but it's a thin, heat-sensitive plastic that can warp, crack in cold snaps, and fade unevenly over time — and it isn't rated for the wind-driven rain events this region sees regularly. Wood-based siding products like LP SmartSide use engineered wood strand technology that performs reasonably well when kept dry, but any breach in the factory coating exposes wood fiber to moisture, and moisture is the one thing Nooksack has in abundance most of the year. Cedar and primed spruce are beautiful but demand a maintenance schedule — recoating, caulking, and inspection — that most homeowners underestimate until the siding is already showing damage.
James Hardie fiber cement is cement, sand, and cellulose fiber. It doesn't rot, it doesn't feed insects, and it's non-combustible — a real consideration given how many Whatcom County properties border trees and brush. Hardie's ColorPlus factory finish is baked on under controlled conditions, which holds color and resists the fading and peeling that field-applied paint struggles with in our climate. And Hardie engineers its HZ5 product line specifically for regions like ours, with performance targets built around moisture and temperature cycling rather than a one-size-fits-all national spec. It's not the cheapest material on the market, and it's not the fastest to install — but it's the product we're willing to put our name behind on a Nooksack home.
Our Installation Process, Start to Finish
1. On-Site Assessment
We walk the exterior with you, note problem areas — moss buildup, staining, soft trim, drainage issues — and check the condition of the existing wall assembly before quoting anything.
2. Tear-Off and Substrate Check
Old siding comes off and we inspect the sheathing underneath. Any soft, water-damaged, or compromised sheathing gets flagged and addressed before a single new panel goes up — covering a bad substrate with new siding just hides the problem.
3. Weather Barrier and Flashing
We install and properly lap the weather-resistive barrier, then flash every window, door, and penetration so water sheds outward rather than working its way behind the cladding.
4. Hardie Panel Installation
Panels, trim, and corners go up to Hardie's fastening and clearance specifications — not generic siding specs. Cut ends are sealed, fastener spacing is checked, and clearances at grade and rooflines are held.
5. Final Walkthrough
We inspect the completed job with you, checking caulk lines, trim, and paint touch-up before calling it done.
Siding Installation Cost Factors in Nooksack
Every project is different, but the factors that move the price on a Nooksack home tend to be the same ones each time:
| Cost Factor | Why It Matters |
|---|---|
| Tear-off vs. install-over | Removing old siding costs more upfront but lets us inspect and repair the sheathing underneath — usually the right call here given our moisture exposure |
| Sheathing or framing repair | Homes with prior water intrusion often need localized sheathing replacement before new siding goes on |
| Home size and wall complexity | Multiple gables, dormers, and cut-ins add labor and material waste compared to a simple rectangular footprint |
| Trim and accessory scope | Corner boards, window trim, and fascia work are often bundled with siding replacement |
| Product line and profile | Hardie offers several plank widths, textures, and the ColorPlus vs. field-painted finish options, each priced differently |
| Access and site conditions | Steep grades, mature landscaping, or tight lot lines can affect equipment access and labor time |
We'd rather walk your home and give you real numbers than throw out a broad estimate that doesn't reflect your actual wall assembly.
Common Installation Mistakes We Fix or Avoid
A lot of what we get called out for in the Nooksack area isn't new construction — it's correcting problems from a previous install. The recurring issues we see:
- Panels installed tight to the ground or hardscape with no clearance, wicking moisture up into the material
- Missing or improperly lapped flashing above windows and doors
- Fasteners driven too high, too low, or overdriven, which can crack fiber cement or void the manufacturer warranty
- No drainage gap on walls that needed one, trapping moisture against the sheathing
- Unsealed field-cut edges left exposed to weather
Every one of these is preventable at install time and expensive to fix afterward. That's why we treat the flashing and drainage details as non-negotiable, even when it adds a step a lower bid might skip.
Choosing a Siding Contractor Who Works Nooksack
Nooksack is a smaller community, and not every contractor bidding jobs here has real, repeated experience with how the local weather treats an exterior. Before hiring anyone for a siding installation in the area, it's worth asking:
- Are you licensed and insured to do exterior work in Washington State?
- Do you install to the manufacturer's specific fastening and clearance requirements, not just general siding practice?
- Will you inspect and address sheathing damage before installing new siding, not just cover it?
- What's your plan for flashing windows, doors, and roof transitions?
- Can you explain, in plain terms, why you recommend the product you're proposing?
A contractor who's worked this valley knows which walls take the worst weather and installs accordingly. That local pattern recognition is worth more than a low bid from a crew unfamiliar with the area.
Maintenance After Installation
James Hardie siding is genuinely low-maintenance, but low-maintenance isn't no-maintenance, especially with Whatcom County's moss season. A simple annual routine goes a long way: rinse the exterior to clear moss, algae, and organic debris before it takes hold; check caulk joints at trim and penetrations for cracking; and keep gutters clear so overflow doesn't run down the wall face. None of this is intensive, but skipping it lets moss establish itself on shaded walls and can shorten the life of caulk joints that are otherwise doing their job.
Get a Straight Answer for Your Home
If your Nooksack home's siding is showing moss staining, soft trim, or you're simply planning ahead, we're happy to walk the exterior with you and give you an honest read on what it needs. There's no pressure and no obligation — just a straightforward estimate based on what we actually see on your walls. Fill out the form below to get started.