 Lynden Siding
 New-Construction Windows Are a Different Job Than Replacement
Installing windows in a new build isn't the same trade as swapping out an old window in an existing wall. On a new-construction job, the window goes into a bare rough opening while the wall is still open — sheathing exposed, weather-resistive barrier (WRB) either just going up or already in place, and no siding yet to hide what's underneath. The nailing flange gets fastened straight to the sheathing, and the flashing sequence around it becomes a permanent, buried part of the wall assembly the moment siding goes on.
That's the part homeowners and even some builders don't always think about: once the siding crew closes up the wall, nobody sees that flashing again unless something goes wrong. If it was done right, it stays invisible and dry for decades. If it wasn't, the first sign of trouble is usually a stain, a soft spot, or a musty smell showing up years later — by which point it's a tear-out, not a caulk fix. New-construction window work is a one-shot job. There's no "we'll catch it on the next remodel."
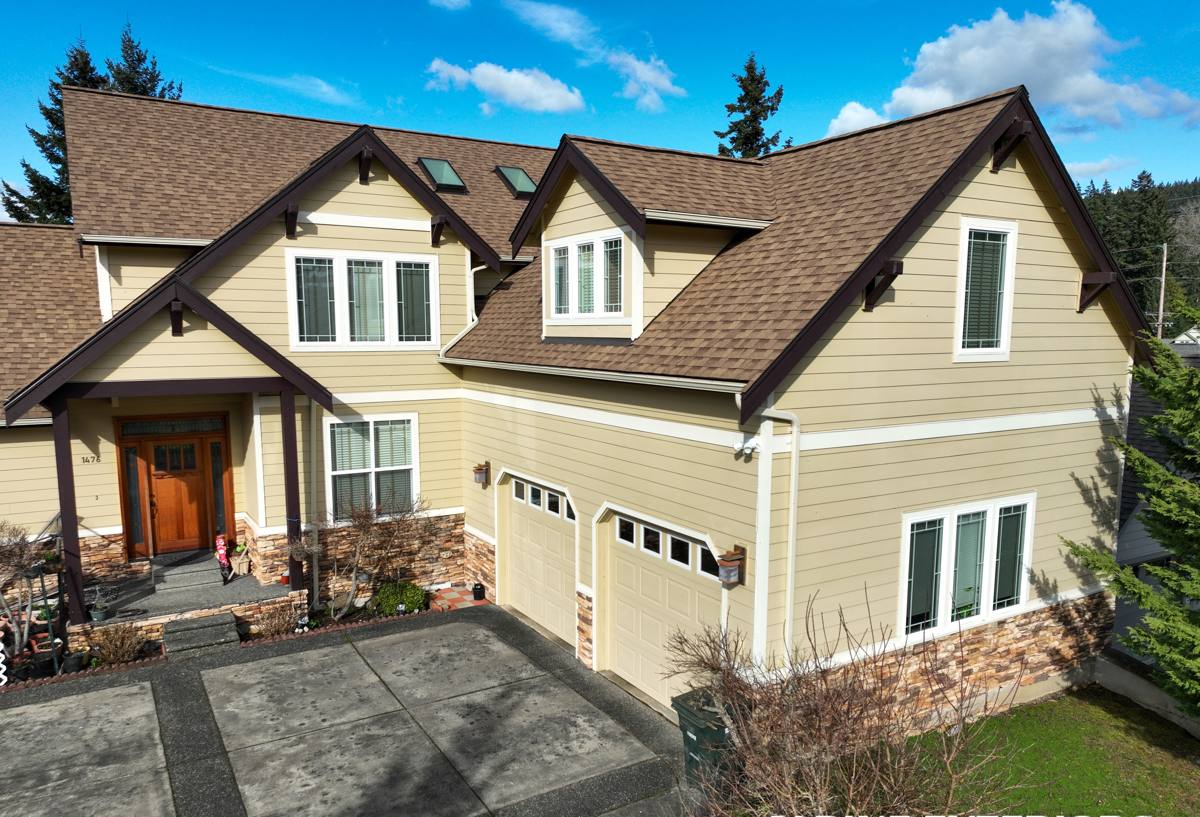
What Kendall's Climate Asks Of a Window Install
Kendall sits in the Whatcom County foothills, close enough to the Sound and the Strait to get salt-tinged marine air, and close enough to the Cascades to catch driving rain that comes in sideways off the higher ground during winter storms. Add the tree cover and shaded lots common in this part of the county, and you get long stretches every year where north- and west-facing walls just don't dry out — that's what locals mean by "moss season," and it isn't limited to roofs. Siding, trim, and window sills that sit damp for weeks at a time are exactly where a marginal flashing detail turns into a real problem.
None of that is exotic for a house built anywhere in western Washington. But it does mean the margin for error on water management is smaller here than in a drier climate, and it's why we treat every window opening on a Kendall build — whether it's an open farmland lot catching full wind exposure or a shaded lot tucked against a tree line — with the same full flashing sequence, no shortcuts, regardless of how mild the weather looks on install day.
The Water-Management Sequence We Follow
A correctly installed new-construction window relies on layered, shingle-lapped water management — not a bead of caulk doing all the work. Skipping or reordering any one of these steps is the single most common cause of hidden rot in new builds we're called out to look at later.
- Sill pan flashing — a sloped, fully sealed pan (self-adhered membrane or formed pan) set at the base of the rough opening before the window ever goes in, so any water that gets past the window has somewhere to drain that isn't the framing.
- WRB integration — the housewrap or weather barrier is cut and lapped so the sill pan drains onto it, the side flanges tuck under the WRB, and the head flashing laps over the top. Water always has to move down and out over the next layer, never behind it.
- Setting the window — plumb, level, and square, shimmed correctly at the jambs so the frame isn't racked, then fastened per the manufacturer's nailing schedule.
- Gap insulation — backer rod and a low-expansion, window-rated foam around the perimeter. Full-expansion canned foam can bow the frame and trap moisture against the jamb, which is why we don't use it here.
- Head flashing — a drip cap over the top of the window that sheds water onto the WRB, ahead of where the siding will eventually lap over it.
- Sealant — used as a secondary line of defense at specific joints, not as the primary seal holding the whole assembly together.
Choosing the Right Window for a Kendall New Build
Frame material matters more in a wet marine climate than a lot of buyers realize. There's no single "best" choice — it depends on budget, how exposed the lot is, and how much upkeep you want to sign up for.
| Frame Type | Moisture Behavior | Maintenance | Relative Cost |
|---|---|---|---|
| Vinyl | Won't rot; seams and welds need to be well-made to stay tight | Low — occasional cleaning | Lowest |
| Fiberglass | Dimensionally stable, holds up well to sustained damp and temperature swings | Low | Mid to higher |
| Wood-clad | Good performance if the cladding and flashing are done correctly; the wood core is only as good as the seal protecting it | Higher — finish and seals need periodic attention | Highest |
For an open, wind-exposed Kendall lot with little tree cover, we usually steer clients toward vinyl or fiberglass for the lower long-term maintenance. For a more sheltered, shaded site, wood-clad can still make sense if the owner is comfortable staying on top of maintenance — the flashing detail underneath matters just as much either way.
Our New-Construction Window Process
- Plan review — we go over rough opening sizes, window schedule, and energy code requirements with the builder or GC before anything is ordered.
- Site verification — before the windows arrive, we check that rough openings are square, sheathing is sound, and the WRB is installed and lapped correctly.
- Flashing and set — sill pan, WRB integration, window set, and fastening, following the sequence above in order every time.
- Insulation and trim — backer rod, low-expansion foam, and exterior trim or casing installed once the flashing is confirmed dry and correct.
- Final check — a visual inspection of every flashing lap and fastening point before we sign off to the siding crew, since this is the last point anyone can see the assembly before it's covered.
Common Mistakes We See on New Builds
Most of the water problems that show up in newer Whatcom County homes trace back to one of a handful of repeatable mistakes:
- No sill pan — relying on the WRB alone to catch water at the sill
- Caulk used as the primary seal instead of a backup to proper flashing laps
- Full-expansion foam packed into the gap, bowing the frame and trapping moisture
- Flashing installed out of shingle-lap order, so water is directed behind the WRB instead of over it
- Windows fastened before the WRB is properly lapped and taped around the opening
- Out-of-square rough openings forcing the frame to rack, straining seals and hardware over time
Every one of these is invisible once the siding goes on — which is exactly why we don't rush this stage, even when a build schedule is tight.
Pre-Install Checklist for Homeowners and Builders
If you're building in Kendall and want to sanity-check your window install before siding closes it up, this is what we'd look for:
- Rough openings confirmed square and correctly sized against the actual window order, not just the plan set
- WRB installed and lapped before window flashing begins, not patched in afterward
- Sill pan flashing visible and sloped to drain outward, not flat or pooling
- Head flashing lapped over the WRB, not tucked under it
- Gap insulation is backer rod plus low-expansion foam, not straight canned foam
- Fastening follows the window manufacturer's schedule, not a generic nailing pattern
- A final look at every opening before the siding crew starts, while it's still easy to fix
Coordinating With Builders and GCs in Kendall
New-construction window work only goes smoothly when it's coordinated with the rest of the build schedule. We work directly with builders and GCs on timing — windows need to go in after the WRB is up but before siding starts, and we try to build in a buffer around Kendall's wetter stretches so flashing work isn't rushed between storm systems. We also make sure window selection meets Washington's energy code requirements for U-factor and performance, which is something worth confirming during plan review rather than after the windows are already ordered.
Why a Local Kendall Crew Matters
A crew that already works new builds in and around Kendall knows the practical stuff that doesn't show up on a spec sheet — which lots tend to sit shaded and damp longer into the spring, which builders we've coordinated schedules with before, and what the county inspectors want to see at framing. When a flashing detail needs a quick adjustment before the wall gets closed up, being local means we can be back on site the same day instead of losing a build day waiting on a crew from out of the area. For a step in the build that only gets one chance to be done right, that responsiveness is worth something.
If you're planning a new build or an addition in the Kendall area and want windows installed the way they should be — flashed correctly the first time, coordinated with your builder's schedule, and matched to the material that fits your lot — we're happy to walk the plans with you and put together a free, no-pressure estimate. Just fill out the form below.