 Lynden Siding
 Building New in Laurel? The Windows Are Not a Commodity Item
Laurel sits in the flatter, low-lying part of the Lynden area, tucked into the farmland and river-bottom terrain that defines this stretch of Whatcom County. If you're framing a new home out here, the window package is one of the few decisions that will follow you for the next 20-30 years. Get it right during new construction and you never think about it again. Get it wrong, and you're looking at condensation on the glass every winter morning, cold drafts by the couch, and a re-caulk job every couple of years just to keep water out.
New construction is actually the easiest time to do windows correctly, because the wall isn't finished yet. There's no siding to cut into, no old flashing to fight with, no drywall to protect. The rough openings are square, the sheathing is exposed, and the window can be integrated into the building envelope the way it was designed to be — instead of retrofitted around whatever's already there. That window of opportunity (no pun intended) closes fast once siding and trim go on.
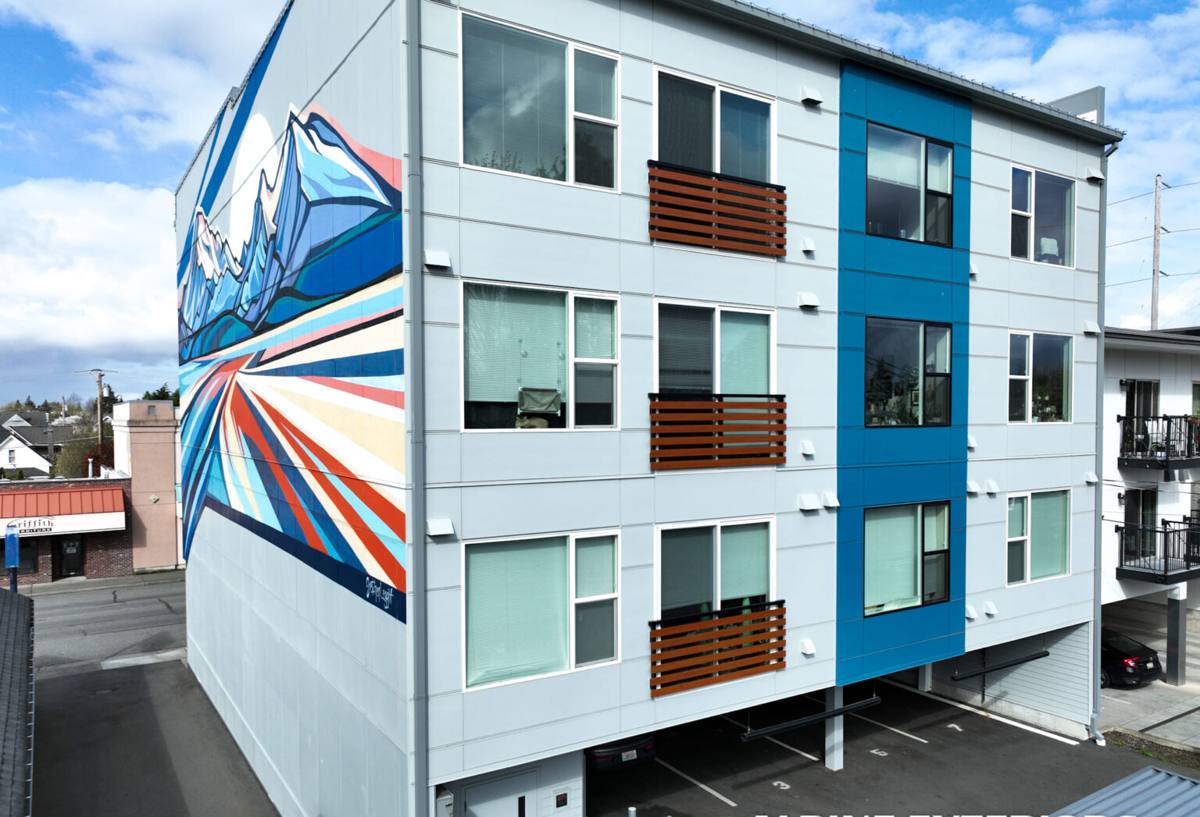
What Laurel's Climate Actually Does to a New Window Installation
Lynden and the surrounding Laurel area get a specific combination of weather that new-construction crews need to plan for, not just react to later:
- Driving rain: Wind-driven rain off the lowland flats pushes water sideways into wall assemblies, not just straight down. A window that only sheds water from directly above will leak in this kind of weather.
- Salt-tinged marine air: Proximity to Puget Sound and the Strait of Georgia means a low but steady load of airborne salt and moisture, which accelerates corrosion on cheap hardware, fasteners, and unprotected metal flashing.
- Long moss season: Whatcom County's wet, mild fall-through-spring stretch is prime moss and algae growth conditions. Moss doesn't just grow on roofs — it colonizes anywhere moisture sits against a surface, including window sills, trim, and poorly-drained sub-sills.
- High humidity swings: Warm, moist summers followed by damp winters stress seals and glazing over time, especially on lower-quality units.
None of this is exotic weather — it's just persistent. A window package built for a dry inland climate will underperform here within a few years. One built with this region in mind will still be tight and clean a couple of decades out.
What a Correct New-Construction Window Installation Involves
Flashing Comes First
Before a single window goes into the opening, the rough opening needs to be properly prepared — sill pan flashing, self-adhered flashing tape at the jambs and head, and a shingle-lap sequence that directs any water that gets behind the siding back out, not into the wall cavity. This is the single most important step in the entire installation and the one that's easiest to rush on a tight construction schedule.
Window Selection for the Opening
New construction gives you the option of a nail-fin (new-construction) frame, which integrates directly with the water-resistive barrier and flashing plane, versus a block/replacement-style frame retrofitted later. For new builds, nail-fin windows done right are the stronger, more weathertight choice — there's no reason to compromise on this when the wall is already open.
Setting, Shimming, and Securing
The window has to be plumb, level, and square in the opening, shimmed at the correct load points (not just at the corners), and fastened per the manufacturer's schedule — not "close enough." An out-of-square window stresses the sash, causes premature seal failure, and can make operable windows bind within a few years.
Sealing and Insulating the Perimeter
The gap between the frame and rough opening gets filled with a low-expansion foam or backer rod and sealant — never packed tight with standard spray foam, which can bow the frame inward and cause the sash to stick or seal poorly.
Exterior Sealant and Trim Integration
The final sealant bead at the exterior trim has to tie into the flashing system, not substitute for it. Caulk is a second line of defense here, not the primary water barrier — a distinction that matters a lot once the moss season sets in and everything stays damp for weeks at a time.
Frame Material: What Actually Holds Up Here
| Frame Material | Performance in Laurel's Climate | Long-Term Consideration |
|---|---|---|
| Vinyl | Good moisture resistance, no corrosion risk from salt air | Quality varies widely by manufacturer; look at weld quality and reinforcement in larger sizes |
| Fiberglass | Excellent dimensional stability through humidity swings, strong against moisture | Higher upfront cost, but minimal maintenance over decades |
| Aluminum-clad wood | Attractive, but cladding seams and interior wood need protection from moisture intrusion | Requires diligent flashing detail; more maintenance-sensitive in a wet climate |
| Bare wood | Higher maintenance burden in sustained damp conditions | We generally steer new builds away from this here unless the owner commits to a real maintenance schedule |
We're not going to tell a homeowner one brand is "bad" — but we will tell you honestly which frame types create more maintenance work in a climate that stays damp for months at a stretch. That's a trade-off conversation, not a sales pitch.
Glass and Sill Details Worth Getting Right the First Time
On new construction, it costs very little extra to get these details right compared to fixing them later:
- Sloped sills that shed water away from the frame instead of letting it pool — critical in a region where standing moisture invites moss and mildew.
- Low-E glass packages matched to Whatcom County's mix of cool, wet winters and warmer summer afternoons, so condensation risk on the interior stays low.
- Weep hole placement that isn't blocked by trim or landscaping once the exterior is finished — a small detail that gets missed constantly on production-built homes.
- Corrosion-resistant fasteners and hardware at every exterior connection point, given the area's marine-influenced air.
Pre-Drywall Checklist for New-Construction Window Installs
- Rough openings squared and sized correctly before windows arrive on site
- Sill pan flashing installed and sloped to drain outward
- Window set plumb, level, square, and shimmed at proper load points
- Flashing tape sequenced shingle-style — head flashing laps over side flashing, side flashing laps over sill pan
- Fasteners driven per manufacturer schedule, not "eyeballed"
- Low-expansion foam or backer rod used at the perimeter gap, not standard spray foam
- Weep holes and drainage paths confirmed clear before exterior finish work begins
- Interior and exterior sealant applied only after flashing is verified complete
How We Work on New-Construction Projects in the Laurel Area
We coordinate directly with the builder or general contractor on timing, since window installation has to land at the right point in the framing sequence — too early and the opening isn't ready, too late and you're fighting the schedule. Our process on a Laurel-area new build typically runs:
- Plan review: We look at the window schedule, opening sizes, and manufacturer specs before anything ships, catching sizing or spec mismatches while they're still cheap to fix.
- Rough opening inspection: We verify openings are square and properly sheathed before flashing begins.
- Flashing and installation: Full shingle-lap flashing sequence, correct setting and shimming, and manufacturer-spec fastening.
- Seal and finish coordination: We time our sealant and trim work with the siding crew so nothing gets covered up before it's verified watertight.
- Final walkthrough: Every unit checked for operation, seal, and squareness before we sign off.
Why Local Experience on Laurel Builds Actually Matters
A crew that's only worked drier inland climates will treat flashing and drainage details as boilerplate, not as the main event. Around Lynden and the Laurel area, we've set enough new-construction windows through the wet season to know which details actually get tested by this climate and which ones are just paperwork. That shows up in small, practical choices — how we sequence flashing tape, where we insist on sloped sills, which fastener spec we won't skip — that a lower-cost, less experienced installer might not think twice about until a homeowner is dealing with a stained sill or a drafty window three winters later.
We also know the practical side of building in this part of Whatcom County: how construction schedules move around harvest season and wet-weather work windows, and how to sequence our work with other trades without becoming the bottleneck on your build.
What This Means for Your Project
If you're framing a new home in the Laurel area, the window installation is worth getting right the first time — not because it's complicated, but because every shortcut taken now becomes a maintenance problem later, in a climate that doesn't forgive shortcuts. Good flashing, correct setting, the right frame material for a damp marine-influenced climate, and sill details that shed water instead of holding it — that's the whole job, done once, done right.
If you'd like to talk through window options for your new build, we're happy to provide a free, no-pressure estimate — just fill out the form below and we'll take a look at your plans.