 Lynden Siding
 Siding Repair in Laurel: What Whatcom County Weather Does to a House
Laurel sits in the open farm country between Lynden and Bellingham, and that open exposure means homes here take weather straight on. There's little in the way of tall timber or dense development to break up wind and rain the way you'd get in a more sheltered neighborhood. Add in the salt-laden air that rolls in off Puget Sound and the Strait of Georgia, driving winter rain that comes in sideways more often than straight down, and a moss season that can stretch from October into May, and you have a climate that is genuinely hard on exterior siding — regardless of what it's made of.
Most of the siding repair calls we run in and around Laurel aren't cosmetic. They start as a homeowner noticing a stain, a soft spot, or a panel that's pulled away slightly at a seam, and end with us finding moisture that's been working its way into the wall assembly for a season or two before it became visible. Catching that early is the difference between a repair that costs a few hundred dollars and one that turns into sheathing replacement.
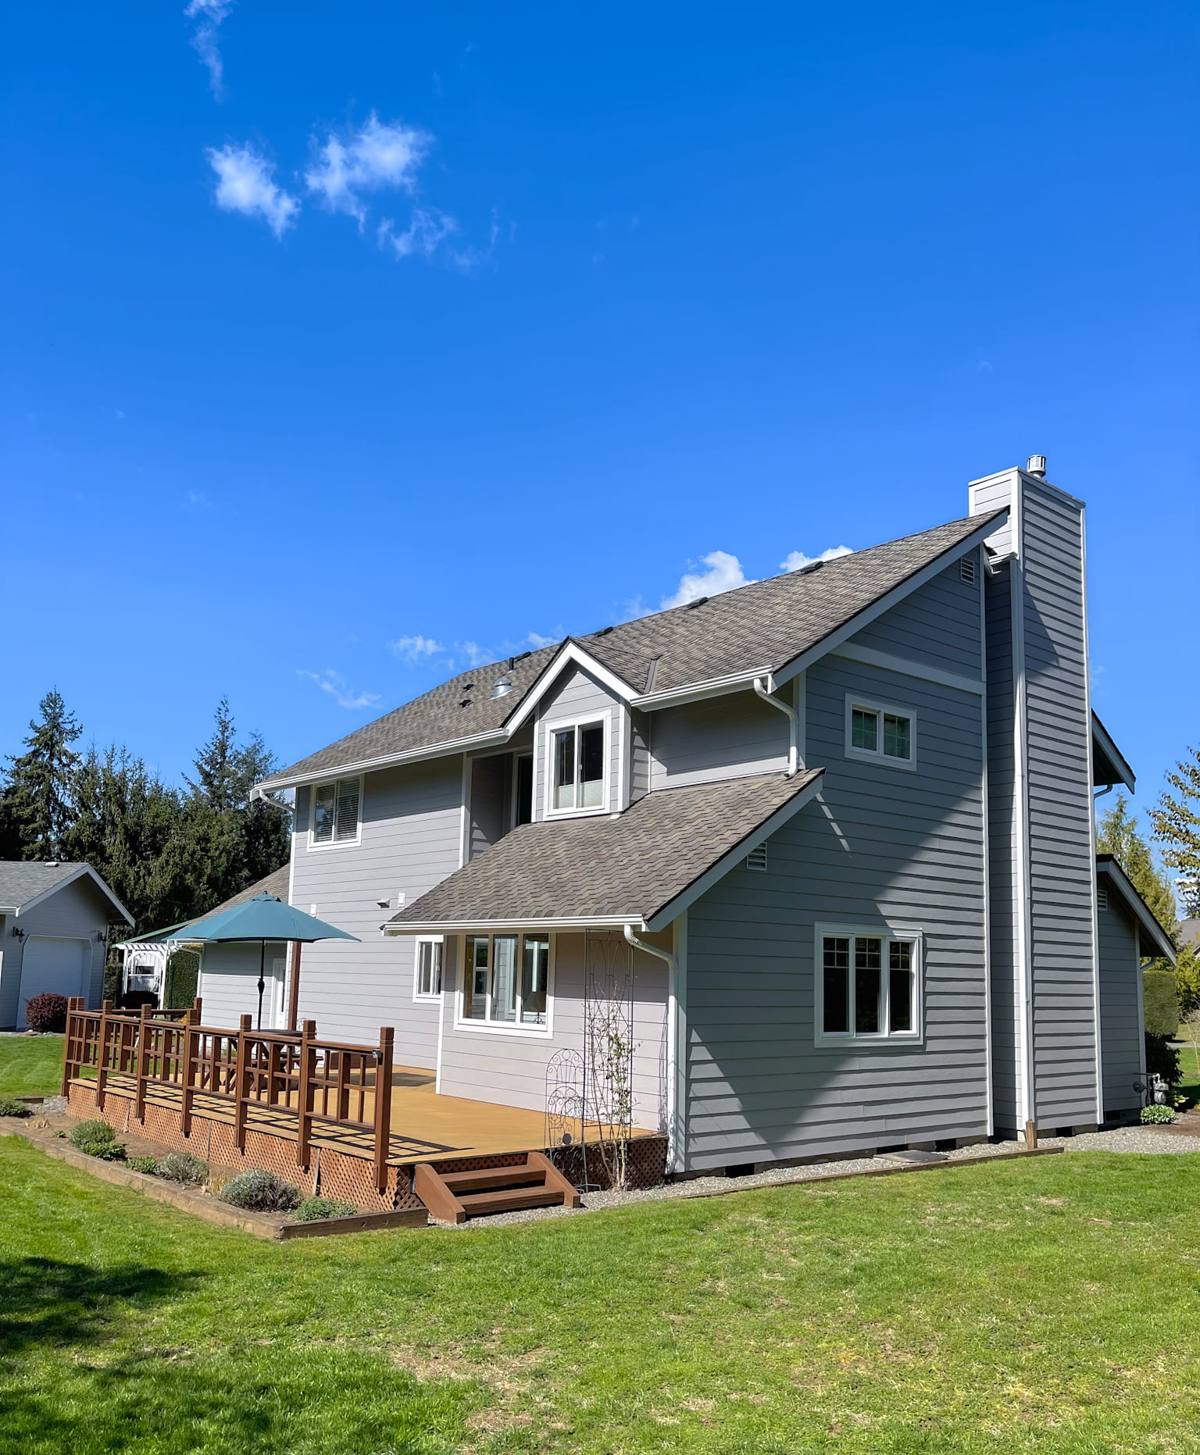
Signs Your Laurel Home Needs Siding Repair
What you can see from the ground
- Dark streaking or green-black growth concentrated on north- and west-facing walls
- Panels or boards that look slightly bowed, cupped, or separated at a seam
- Cracking or splitting, especially around window and door trim
- Paint that's bubbling, peeling, or chalking unevenly across a wall
- Soft spots you can press in with a thumb near the base of the wall or around penetrations
What usually means it's more than surface-level
A musty smell in an adjoining room, a slight give in interior drywall near an exterior wall, or trim that stays damp long after a storm has passed are all signs the water has already gotten past the siding itself. At that point the repair isn't just a siding question — it's a question of what's happening behind it, and that has to be checked before any patch goes back on.
| Situation | Usually a Repair | Usually Replacement |
|---|---|---|
| Damage limited to one or two wall sections | Yes | No |
| Moisture found in isolated framing, no spread | Yes | No |
| Rot or moisture damage across multiple walls | No | Yes |
| Siding is near or past its expected service life | Sometimes | Yes |
| Underlying house wrap or flashing has failed broadly | No | Yes |
What's Actually Causing the Damage
Moss and organic growth
Whatcom County's long wet season gives moss and algae months at a time to establish themselves on any surface that stays damp — shaded walls, areas under overhangs that never fully dry, and anywhere organic debris collects in a joint or corner. Left alone, that growth holds moisture directly against the siding surface and, over time, against the fasteners and seams underneath it.
Wind-driven rain
Rain that's being pushed sideways by wind finds its way into places vertical rain never reaches — behind trim boards, into unsealed seams, and up under laps that were installed with too little care for the local weather pattern. This is one of the most common root causes we find behind siding damage in open, exposed lots like the ones common around Laurel.
Salt air and corrosion
Even well inland from the water, the marine air common to this part of Whatcom County carries salt that accelerates corrosion on fasteners, flashing, and any exposed metal trim. Once a fastener starts to corrode, it loses its grip, siding starts to work loose at that point, and a small gap becomes a water entry point.
What a Correct Siding Repair Actually Involves
A repair that's done right isn't just about replacing the piece of siding that's visibly damaged. It's about understanding why that piece failed in the first place, so the same failure doesn't happen six feet away next season.
- Remove the damaged material carefully enough to inspect what's underneath without causing further damage to adjacent panels.
- Check the water-resistive barrier and flashing — house wrap, flashing tape, and window/door flashing are usually the actual point of failure, not the siding itself.
- Assess the sheathing and framing for soft spots, staining, or rot, and address any of that before anything new goes back up.
- Correct the original installation error if one exists — improper overlap, missing flashing, or fasteners driven in the wrong place are common culprits and simply patching over them guarantees a repeat failure.
- Match the replacement material to what's already on the house as closely as possible, in both profile and finish, so the repair doesn't stand out or create a new weak seam.
Why the Material You Repair With Matters
We only install and repair with James Hardie fiber cement siding. That's a deliberate standard, not a default, and it matters most at repair time. Fiber cement doesn't absorb and swell the way wood-based products can, and it holds paint and factory finish far more consistently than the primed spruce, LP SmartSide, or vinyl siding still found on a lot of older homes in this area. When we're asked to repair those other materials, we're honest with homeowners about the trade-offs: engineered wood products are more sensitive to sustained moisture exposure, vinyl can warp and fade unevenly over time, and none of them match the fire resistance or factory-cured ColorPlus finish that James Hardie's HZ5 products are built with for this exact climate zone.
For homes already sided in James Hardie product, repairs are straightforward — we match the plank profile and, where possible, the ColorPlus finish so the repaired section blends in rather than becoming a visible patch. For homes sided in other materials, we'll do an honest repair, but we'll also tell you plainly when a section has reached the point where patching it is a short-term fix rather than a real solution.
Our Process for Laurel Repair Jobs
- On-site assessment — we look at the full wall, not just the spot you called about, since damage in this climate rarely stays isolated.
- Moisture check — where damage suggests water intrusion, we check behind the siding before quoting anything, so the estimate reflects the real scope.
- Written scope and cost — you get a clear explanation of what's being repaired, why, and what it will cost before work starts.
- Repair and re-seal — damaged material is removed, the barrier and flashing are corrected, and new material is installed and sealed to spec.
- Cleanup and walkthrough — we clear debris and walk the repair with you so you know exactly what was done.
Repair vs. Replacement: What Drives the Cost Difference
| Factor | Effect on Repair Cost |
|---|---|
| Number of wall sections affected | More sections means more material and labor time |
| Extent of hidden moisture damage | Sheathing or framing repair adds meaningfully to cost |
| Age and availability of matching material | Older or discontinued profiles can be harder to match cleanly |
| Access and wall height | Second-story or hard-to-reach sections take more time to work safely |
| Root cause correction | Fixing flashing or house wrap issues adds a step but prevents repeat calls |
We won't quote a repair without seeing the actual damage in person — anything else is a guess, and this climate punishes guesses.
Why a Crew That Already Works in Laurel Matters
Siding repair is one of those jobs where local familiarity actually changes the outcome. A crew that regularly works this stretch of Whatcom County already knows which wall orientations take the worst weathering, how fast moss reestablishes itself after a cleaning, and what kind of flashing details tend to fail first on homes built in the various eras common to this area. That's the difference between a repair that's a best guess and one that's informed by having seen the same failure pattern on the house two properties over.
It also means fewer surprises on scheduling. Rain-dependent work like siding repair has to work around this region's wet stretches, and a local crew plans around that reality rather than treating it as an obstacle.
Maintenance Checklist for Laurel Homeowners
- Rinse moss and algae off siding at least once a year, before it has a chance to establish and hold moisture
- Keep gutters clear so overflow doesn't run down and saturate wall sections below
- Trim back vegetation that keeps any wall shaded and slow to dry
- Walk the exterior each fall and look for gaps, cracking, or loose trim before winter rains set in
- Re-caulk seams and penetrations (vents, hose bibs, light fixtures) every few years — caulk fails long before siding does
- Address small repairs promptly; a small gap left through one wet season becomes a bigger repair by the next
Get a Straight Answer on Your Repair
If you're seeing staining, moss buildup, or a section of siding that just doesn't look right, it's worth having someone look at it before another wet season passes. We'll give you an honest assessment of what's actually going on, what it will take to fix it correctly, and whether you're looking at a repair or something bigger — no pressure, no upsell. Request a free estimate below and we'll get a local crew out to take a look.